A wet saw is always a brilliant tool allowing users to cut all tiles easily, consistently, and quickly. However, acquiring a high-quality one doesn’t suit low to average budgets.
So how to cut tile without a wet saw? Acknowledging your shopping headache for this wonderful and precise-cutting product, we are here to give you alternative ways to accomplish your projects.
They should be fast, cheaper, and importantly as convenient as a wet saw.
There are also some safety precautions and useful pieces of advice, so let’s see what they are!
What Tools You Need To Cut Tile
You are sure not fond of postponing your project in the middle due to the lack of tools and materials.
Therefore, before getting your hands dirty, it is vital to prepare the following tools to finish your work smoothly:
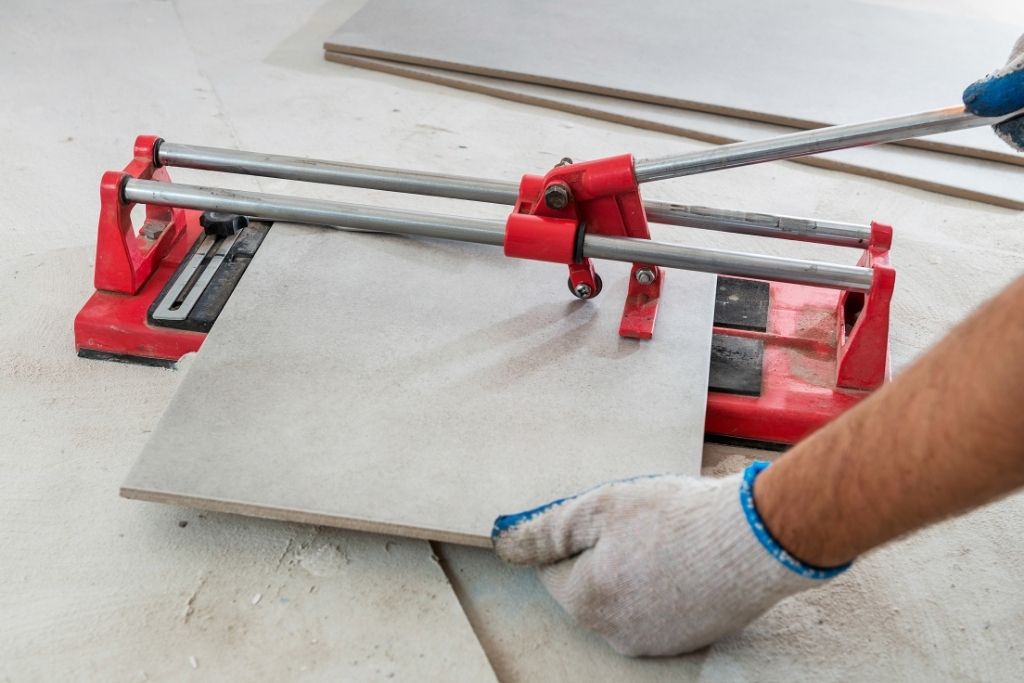
● Manual snap cutter: besides a wet saw, this tool is one of the most commonly used equipment that most homeowners should own, thanks to its effective carbide tool.
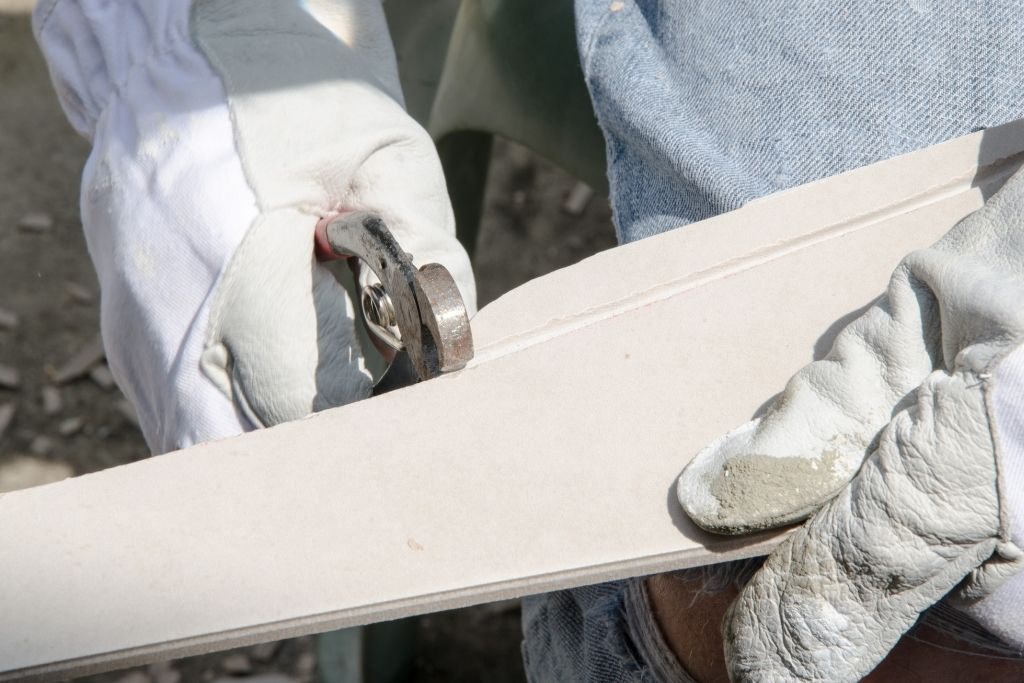
● Tile nipper: for irregular cutting shapes, you should purchase a tile nipper designed for tile corner-cutting.
● Glass cutter: this widely available and cheap tool is a great idea to make a perfect cut.
● Angle grinder: if you want to make angle cuts, a 4-inch grinder with a stone blade will surely come in great handy.
● Rotary cutting tool: As its name suggests, the rotary cutting tool is suitable for cutting holes in tiles and along the edges. However, it is not recommended for straight cuts.
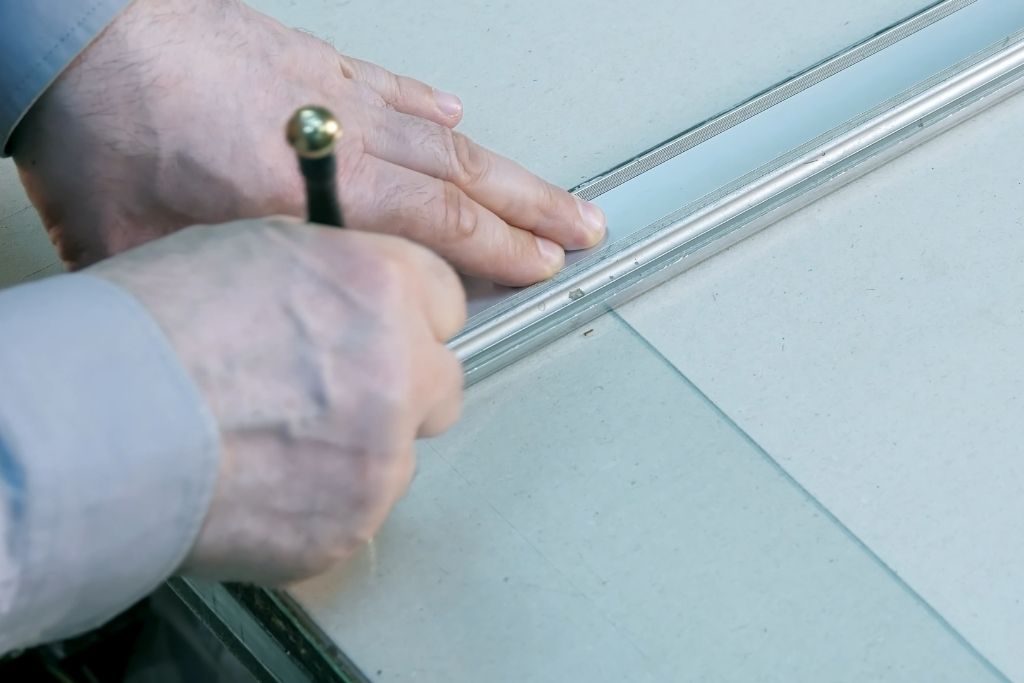
● Tile scribe: its carbide tip enables users to make straight cuts with ease due to its score lining function. It is also easy to use and widely available.
No matter which above tool you have in hand, making a precise and smooth cut on your tile will never be more straightforward with our below guides.
The Simplest Ways To Cutting Tile Without A Wet Saw
How To Cut Tile Without a Wet Saw Using Glass Cutter
A glass cutter is more suitable for small projects like bathroom tiles or edge work in cabinets and baseboard.
Step 1: Make Measurements And Shapes
As a glass cutter is not designed for curves or bevels, it can only handle straight cuts, you should measure precisely the desired shape dimensions before getting your hands dirty.
Drawing some sketches and using a pen marker to identify the shapes would be useful, especially for glass and ceramic tiles.
Step 2: Wear Safety Gears
Working with a glass cutter may be dangerous as tiny pieces can find ways to get into your eyes.
Moreover, you will have to use intense pressure on your palms to finish the projects. For these reasons, don’t forget to wear goggles or protective glasses and put on fabric gloves.
Step 3: Score The Tiles
This is one of the crucial steps, directly affecting the final results and requiring great care and soberness.
You need to hold the glass gutter firmly and press the device down to create partial cuts along the tiles.
Those partial marks will be a great guideline for actual cutting, so that you are more likely to get the perfect results.
Step 4: Place A Wire Underneath Desired Tile
In this step, your prepared wire should be thin and long enough to go through the partial cuts. In this way, you can identify and precisely break the tiles with needed dimensions.
Step 5: Break The Tile
It’s time to place the tile on a sturdy surface, which should be strong and durable enough for massive intense pressure. Then, press your palm hard over different sides of the wire to break the tiles.
You should increase pressure gradually to ensure that the tile will not splinter and cut your hands. If you fail to break the tiles, let’s re-score once again to make a clearer partial cut.
Step 6: Smoothen The Edges
Rough edges after cutting may not perfectly fit your home construction so don’t forget to smoothen them with a rubbing stone or a concrete slab.
How To Cut Tile With A Tile Nipper
A tile nipper is an inexpensive and versatile cutting tool. This one can deal with the narrowest cuts fashionably and allow for both straight and curved shapes.
Step 1: Measure, Mark, And Score The Shapes
Like other tools, you always need to measure the dimensions then mark them on the tiles.
Now it’s time to place it on the tool bed and draw the scoring wheel across the marked line.
For curves and bevels, it is advisable to use a sharp metal cutting wheel to make thinner and more precise lining.
Step 2: Nip
When nipping, it would be better to start with waste areas and remove small tile bits with each nip.
Don’t rush to take a big nip of your tile, as this may lead to undesirable results. Patience is the key with this tool.
Continue nipping, gradually cut around the marked cutting lines with great care and resilience, and get the results.
Step 3: Finish The Cut
Working with patience will surely offer you a clean and clear finished tile.
If the cut edges tend to be exposed, you should smoothen them to ensure a perfect aesthetic appearance and avoid unwanted accidents with your kids and pets.
Another Method Alternative Suitable
Besides those above tools, if you plan to work with ceramic tiles, a cheap and easy to find Dremel tool will surely meet your demands.
How To Cut Tile Using Dremel Tool

Using it should not pose any danger or difficulty with these simple steps:
Step 1: Assemble The Tool
Prepare a tool collet and place a new Dremel tile bit into it. To ensure safety, remember to tighten the collet firmly before plugging in the
power source.
Step 2: Mark The Shapes
As mentioned above, making measurements is one of the crucial steps that you should never ignore.
Use a pencil or marker to identify and draw your desired shapes and patterns on both sides.
Step 3: Cutting
Normally, this tool operates at ten settings from 25,000 RPM to 35,000 RPM. You will hold the tile tightly and securely to control this great power. Then use the bit to drill a small hole in the tile as a starting point.
All you have left to do is follow the marking line until you maneuver the drill around the shapes and finish.
Step 4: Turning Off
Due to its power, after cutting, you should always turn the tool off and unplug it from the power supply.
If the bit is dirty and shows debris or dust, don’t forget to wash and dry it carefully before putting it into place.
This alternative method is easy to follow and doesn’t cause a fortune. Nevertheless, its overwhelming power and the sharp drill requires you to use it carefully and slowly to avoid accidents.
Final Thought
Without a shade of doubt, the cost is always one of the most concerning aspects you consider before embarking on your home renovating journey.
While a wet saw is especially excellent at cutting hard and dense materials like porcelain and ceramic, its cost lets many users down.
However, by following our above cutting guide and tips, you are sure to finish your work as quickly and conveniently as that expensive choice.
Cutting tiles is not an uphill struggle as long as you make precise measurements and prepare some basic aiding tools and suitably.


![9 Best Pole Saws of 2023 [Ultimate Guide]](https://handykeen.b-cdn.net/wp-content/uploads/2021/03/best-pole-saw-300x200.jpg "9 Best Pole Saws of 2023 [Ultimate Guide]")
