When it comes to classic toys, few are more iconic than the rocking horse.
These timeless playthings have been enchanting children for generations, and there’s something truly special about a handcrafted wooden rocking horse.
If you’re looking for a unique gift for your children or a fun project to work on, why not try your hand at make a rocking horse?
With these 21 DIY wooden rocking horse plans, you can build a beautiful rocking horse that will be cherished for years to come.
There are plenty of different designs to choose from, we hope you will find the perfect plan for your skills and interests.
Table of Contents
- 1. Free Wooden Rocking Horse Plan
- 2. How To Build A Rocking Horse
- 3. How To Build A Child’s Wooden Rocking Horse
- 4. Build A Modern Rocking Horse
- 5. DIY Outdoor Rocking Horse
- 6. DIY Rocking Horse By Family Table Furniture
- 7. DIY Rockin’ Horse Project
- 8. DIY Rustic Rocking Horse From Store Bought Timber
- 9. Wooden Rocking Horse Plans
- 10. American Girl Sized Doll From Instructables
- 11. How To Make A Wooden Rocking Horse By Lee’s Wood Projects
- 12. Free Rocking Horse Plans Andy
- 13. Build A Traditional Rocking Horse
- 14. DIY Wooden Rocking Horse By Mohamed AbolSoud
- 15. DIY Hobby Horse
- 16. Build A Wooden Horse From Instructables
- 17. Free DIY Wood Rocking Horse Plan
- 18. Build An Heirloom Rocking Horse
- 19. DIY Rocking Horse From Binkys Woodworking
- 20. Building A Classic Rocking Horse
- 21. Make A Rocking Horse By The Book of Man
- Conclusion
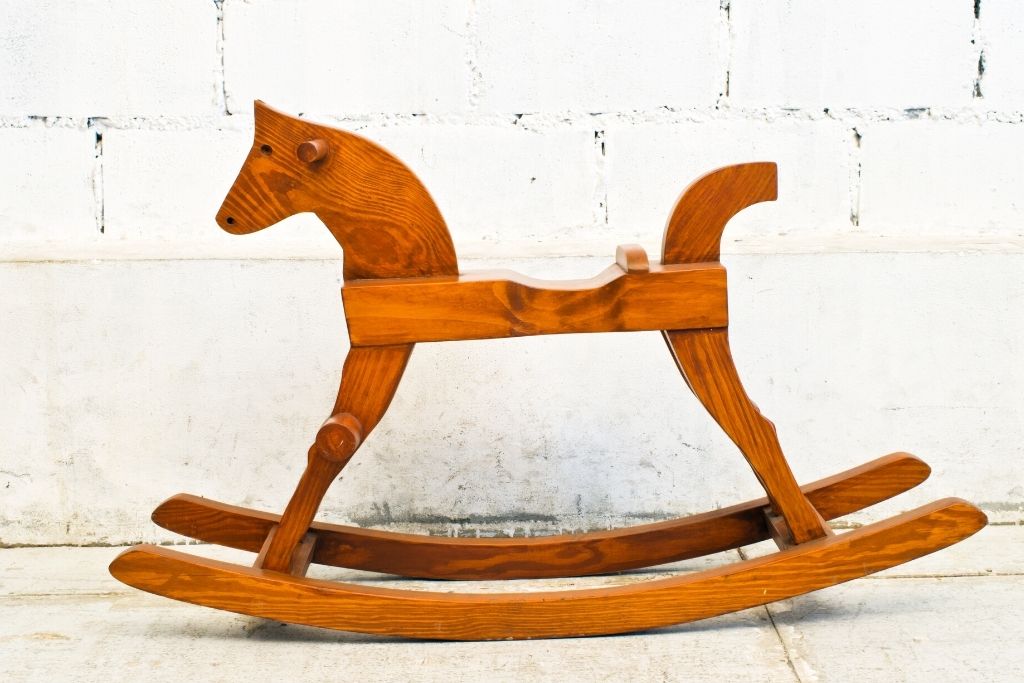
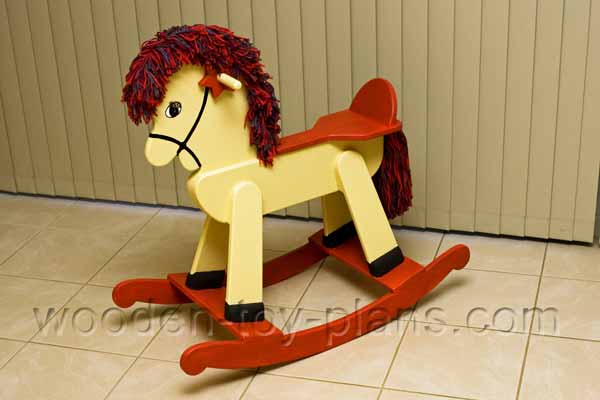
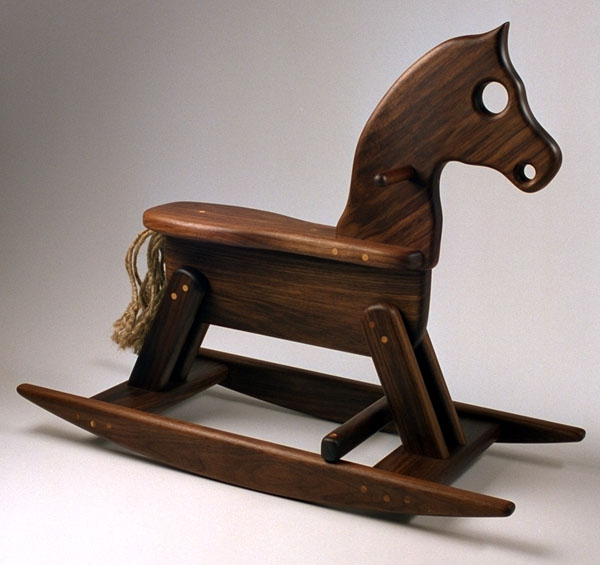
1. Free Wooden Rocking Horse Plan
Rocking horses are a classic children’s toy, and there are many different ways to make them.
This plan will show how to make a rocking horse using MDF or other thin plywood, with a jigsaw and some basic hand tools.
The first step is to cut out the templates for the horse’s body, head, legs, and rockers. MDF is much easier to work with than solid wood, so it is a good choice for beginners.
The body and legs can be cut out of one piece of MDF, but the head may need to be made from two or more pieces glued together.
The next step is to round over the edges of the body, legs, and rockers. This can be done with a router, or by sanding the edges by hand.
Once all the pieces are cut out and the edges are rounded over, it’s time to start assembling the horse. The legs are attached to the body first, then the head and seat are added. Finally, the backrest and tail are attached.
Once the rocking horse is assembled, it is ready to be painted or stained. A clear coat of varnish will protect the finish and make it easier to keep clean.
Project details: wooden-toy-plans.com
2. How To Build A Rocking Horse
Building a rocking horse is a fun project that both children and adults can enjoy.
With this plan, when selecting the lumber for the base, be sure to choose a good quality 2 by 4.
The horse’s body can be scrolled out of a 2 by 12 by 10 foot piece of lumber, but it is important to select a board that is not warped.
The body should be laminated with either dowels or screws. Be sure to drill pilot holes before screwing or drilling in dowels.
The closet rods that the horse hangs from should pass all the way through the body. If you don’t have an appropriate bit, use a spade bit to drill the holes.
Trim the rocker horse with ears, mane, and tail made from leather, rope, or cotton line. Paint the horse to your liking with nontoxic paint.
Enjoy your new rocking horse!
Project details: motherearthnews.com
3. How To Build A Child’s Wooden Rocking Horse
It is simple in design, but the rocking horse is a great addition to holiday decorations or a gift.
You can make it out of any type of wood you choose, but pine is recommended because it is inexpensive and easy to work with.
The rocking horse is made out of two solid pieces of wood that are glued and nailed together.
A dowel penetrates the body at an angle to create the rocker and is held in place with a wedge. The seat and tail are also attached to the rocking horse.
The whole project is stained with a mixture of walnut and mahogany, and finished with three coats of water-based polyurethane. This rocking horse will be enjoyed for many years to come.
Project details: hgtv.com
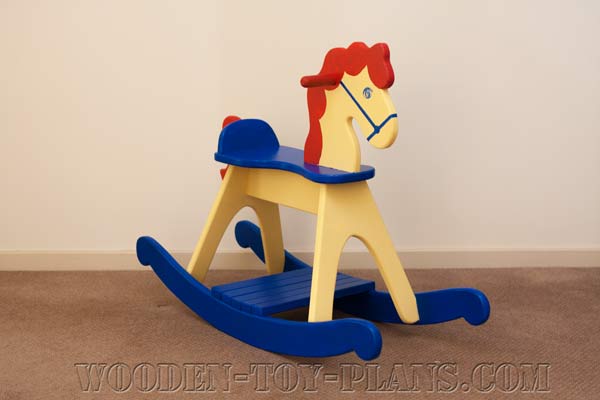
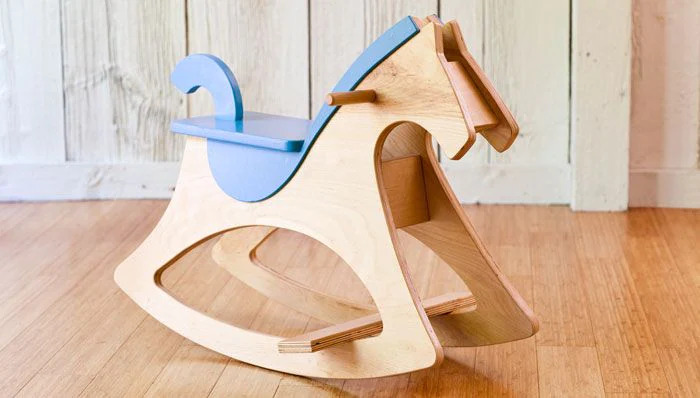
4. Build A Modern Rocking Horse
When it comes to rocking horses, there are many designs that have been created in the past.
However, this design is unique, modern, inexpensive, and interesting because it uses a technique called kerf-bending plywood.
This rocking horse is designed for smaller riders, and it is 16 inches tall to the top of the saddle. Additionally, it includes removable footrests so that it can be used for a few more years as the child grows.
It’s a fairly advanced project, but the final result is definitely worth it. Give it a try – your kids will love it!
Project details: canadianhomeworkshop.com
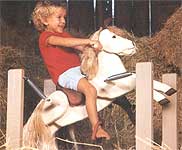
5. DIY Outdoor Rocking Horse
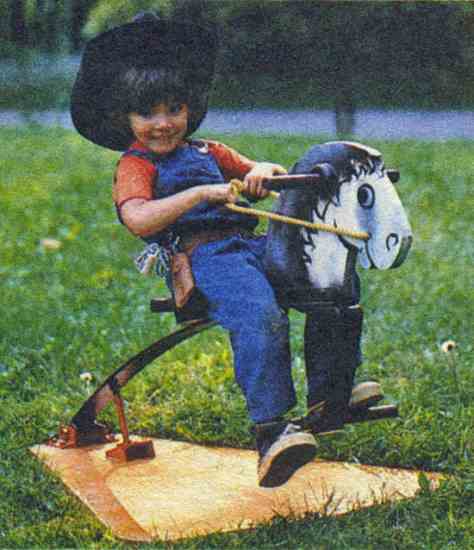
This rocking horse plan tells how to make a child’s play horse using materials that are easy to find, such as a banister rail, dowel, and springs.
The horse is made by fastening a wooden head to one end of spring, and the other end is attached to a foot-long handle. The handle is used to hold the horse by the bridle and direct its movements.
The horse is supported by a wooden base that has wheels attached, so it can be easily moved around.
You may want to add paint and other decorations to finish your horse.
Project details: motherearthnews.com
6. DIY Rocking Horse By Family Table Furniture
This rocking horse is a great project for the immediate and advanced woodworker.
The body is made from two pieces of 2×10 lumber, which are glued together. The legs and rockers are also made from 2×10 lumber, and the rockers are cut from 1×3 lumber.
All of the edges are rounded over with a 3/8″ roundover bit, and the holes for the hand and foot dowels are drilled. Finally, the eye and mane details are routed into the body with a V-bit.
The assembly process is very simple. The legs are attached to the body with screws, and the rockers are attached to the legs with screws. The horse is then attached to the base with screws.
You can stain or paint them with your favorite. Once everything is dry, enjoy your new rocking horse.
7. DIY Rockin’ Horse Project
This plan is a great way to use up some scrap wood and practice routing. The instructions describe in detail how to build a simple child’s rocking horse.
The first step is to cut out all of the parts according to the pattern sheets. Be sure to sand any sharp edges.
The next step is to attach the body cleats and seat cleats to the inside surface of each body panel using glue and screws. You can also attach the handle at this time.
Next, fit the second body panel into place and attach it with screws through the support cleats. Then, attach the footrest, tail, seat and saddles using glue and screws.
Be sure to allow the glue to dry completely before using your chair. You can paint or stain if you want.
Project details: lowes.com
8. DIY Rustic Rocking Horse From Store Bought Timber
This project consists of a few simple steps that result in a great rustic rocking horse perfect for any home.
First, cut your support piece that will hold your legs at a 10 degree angle using a table saw or bandsaw and block plane.
Next, glue your legs to the support piece using dowels inserted into predrilled holes. The next step is to make the rockers.
The rockers are made of multiple boards glued together following the curve of the rocker. The feet are then attached to the rockers with wedges, and the whole assembly is glued up.
Lastly, glue the seat and headrest onto the support piece. After all glue has dried, give it a light sanding and apply finish. You can use food safe orange oil for your finish.
Project details: instructables.com
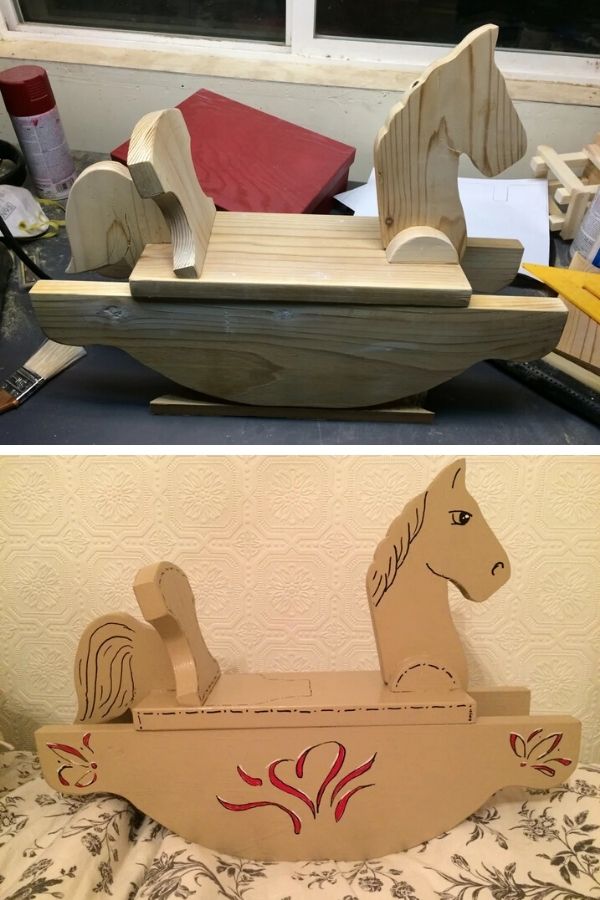
9. Wooden Rocking Horse Plans
This rocking horse plan is a classic that will be loved by many children. It also makes an attractive piece of furniture in any room.
The instruction is made up of a few simple steps:
- First, use a round-over bit on the edges of the wood.
- Next, glue the head to one side of the body pattern and the infill pieces together.
- Attach the spreader bars to the rockers and fix the legs to the body.
- Remove the legs and trim the ends to the angle recorded with the sliding bevel.
- Screw the legs back in place.
To make the mane, cut out a piece of cardboard following the outline of the head. Wrap the cardboard with packaging tape, then wool as shown in the photo.
Making the tail is simply a matter of holding your hands apart to the length you want the tail to be, wrapping wool around your hands, drilling a hole under the seat, and stuffing woollen loops into the hole. Once the glue has set, you can cut the loops.
And there you have it! A beautiful rocking horse for your child to enjoy.
Project details: wooden-toy-plans.com
10. American Girl Sized Doll From Instructables
The American Girl sized doll rocking horse is a fairly easy project, using mostly basic woodworking tools.
The supplies you need for the project include a chop saw, scroll saw, belt sander, drill, and finish nailer.
You will also need around 7 feet of 1×6 lumber, 2×12 lumber for the head and seat, 2×6 for tail and seat back, and some scraps of 2×6 for extra supports.
After everything is put together, you can finish off your rocking horse however you like.
Some options include painting it brown and adding a strap around the nose with reins, or cutting a dowel to create a neck for the horse.
You could also use some old climbing rope to make a mane for the horse. Get creative and have fun with it!
Project details: instructables.com
11. How To Make A Wooden Rocking Horse By Lee’s Wood Projects
With this plan, the rocking horse will be a fun toy for children that is made with a few simple tools and materials.
The body and head of this rocking horse are made from a piece of wood that is approximately 3/4″ thick x 12″ wide x 24″ long.
The wood is cut into two pieces and then glued together to form the body and head. A dowel is then glued into each side of the body and head. The ears are then glued onto the head, and the legs are glued to the body.
The rockers are then attached to the legs, and the saddle is attached to the body.
Finally, any holes, cracks, or imperfections are filled with plastic wood dough and the whole rocking horse is sanded smooth.
A stain is applied (if you desired), followed by a clear finish coat. Your wooden rocking horse is now finished and ready to use.
Project details: leeswoodprojects.com
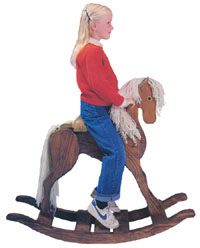
12. Free Rocking Horse Plans Andy
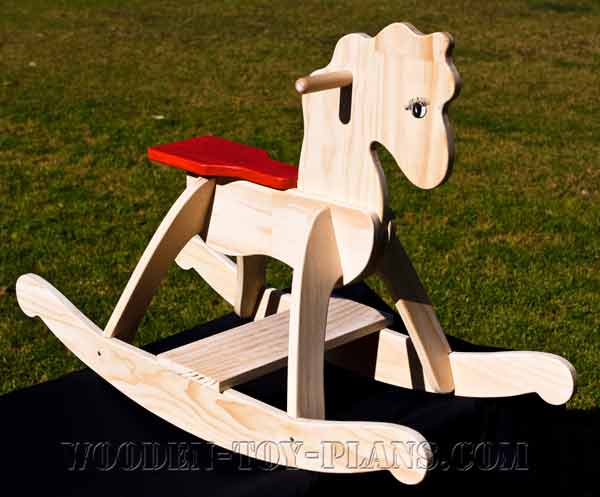
This rocking horse project comes in two different versions, one with a seat height of 20 inches and the other with a seat height of 14 inches.
The tools you will need for this project include a power drill, band saw, tenon saw, combination square, sliding bevel, smoothing plane, and woodworking clamps.
You may also need a router mounted in a router table with a pattern cutting bit and a builders square. The materials you will need for this project include 19mm ((3/4″) project timber and dowel handle.
The step by step instructions for this project includes using templates to mark out the pattern directly onto the timber, cutting out and trimming the pieces with a trim bit mounted in a router, and attaching the rockers and platform.
With these simple steps, you’ll have a brand new rocking horse in no time!
Project details: wooden-toy-plans.com
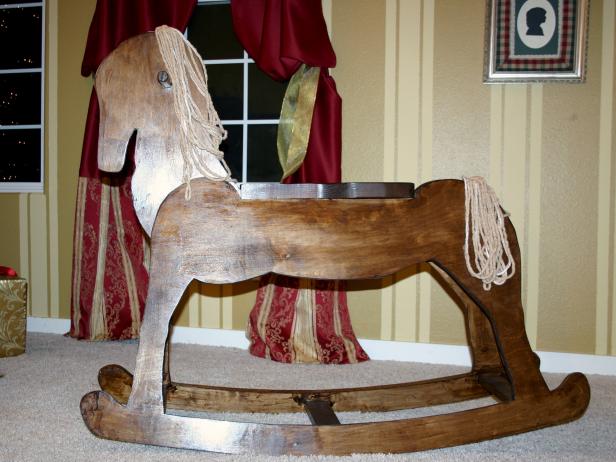
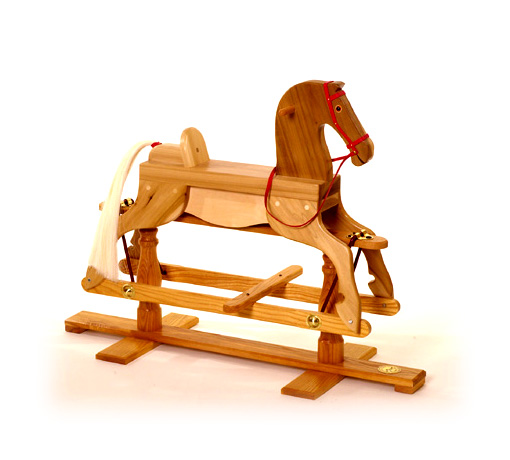
13. Build A Traditional Rocking Horse
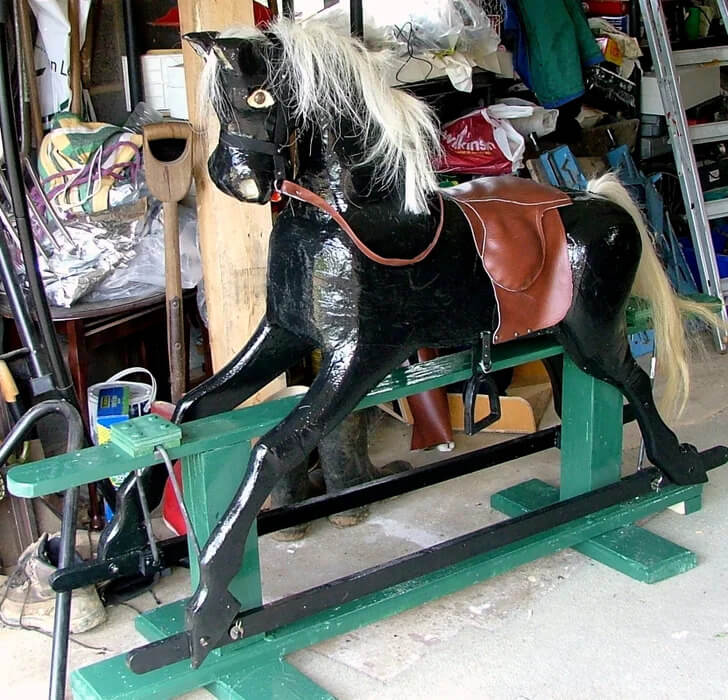
The instructions describe how he made a rocking horse for his granddaughter, using materials that were affordable and readily available.
The rocking horse is made from 8 mm black mild steel rod, 3 mm mild steel strap, Plywood, and various other items that can be found at a local DIY or hardware store.
He gives detailed instructions on how to create the rocking horse, including how to bend the steel rod, attach the hangers, and finish the project.
Also, he recommends painting the horse with a water-based primer followed by a coat of colored emulsion, and finishing with three coats of clear varnish. The stand can also be painted and varnished.
The saddle and bridle are made from a table protector, with the outside being a leather look and the under side a white felt.
The mane is fitted into a slot cut down the back of the head. The eyes are two glass buttons epoxied into the foam.
The overall result is a traditional-looking rocking horse that is sure to provide hours of enjoyment for any child.
Project details: instructables.com
14. DIY Wooden Rocking Horse By Mohamed AbolSoud
This rocking horse is a great project for beginners. It is made from oak plywood and cherry plywood, and is finished with tung oil.
You will need a table saw and jigsaw to cut out all the parts. The router, sandpaper and non-toxic stains or paints to finish.
This project will take around 22 hours to complete, and the finished product will be a beautiful wooden rocking horse that your child will love.
15. DIY Hobby Horse
The project provides templates and instructions on how to create a rocking horse from scratch. The templates can be scaled up or down as needed
This rocking horse is made from a single 2″ x 10″ x 8′ piece of wood, which is then cut into the various component pieces.
The rockers are the most important part of the horse, and should be made from strong wood that can withstand plenty of abuse. The rest of the project is relatively straightforward, and only requires basic carpentry skills.
Once the horse is assembled, you can finish it with a variety of paint, stain, or clear finishes to protect it from wear and tear.
Project details: thewoodcrafter.net
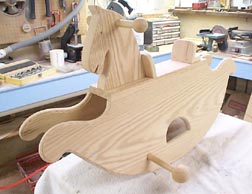
16. Build A Wooden Horse From Instructables
The rocking horse design is modeled in Autodesk Inventor and can be modified according to your needs.
The instructions consist of 15 steps, with each detailed clearly images. You will need some basic tools and materials, such as a drill, router, screws, bandsaw, jigsaw, wood glue, etc. to finish the project.
With a little bit of effort, you can create a beautiful and long-lasting toy for your children or grandchildren to enjoy.
Project details: instructables.com
17. Free DIY Wood Rocking Horse Plan
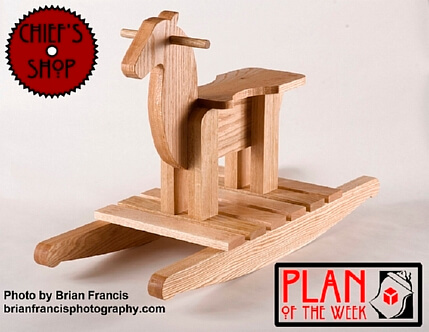
This plan is a great toy for kids or even adults who want a fun accent piece.
It’s easy to follow the instructions with download the pdf detail plan and making this project your own. You can use any type of hardwood, but red oak looks great and is durable.
The smaller arc on the rockers limits tipping and movement, but you can modify the design if you want a larger range of motion.
You’ll need some basic woodworking tools like a jigsaw or band saw and Kreg Jig to complete the project.
Project details: chiefs-shop.com
18. Build An Heirloom Rocking Horse
If you’re looking for a long-lasting, heirloom-quality rocking horse, this is the project for you.
With durability and minimal care in mind, this design uses wood dowels to join pieces of wood together – ensuring that your horse can hold up to riders of all ages and sizes.
This project requires some skill with woodworking tools. We don’t recommend it as a first woodworking experience, but you don’t have to be a professional.
Your care and time can make up for much inexperience. Remember to prioritize safety when working with any tools.
Project details: woodentoy.com
19. DIY Rocking Horse From Binkys Woodworking
This rocking horse is a great gift for any young child. It is easy to put together, and the finished product is durable and attractive.
The rockers are curved for a smooth ride, and the footrests and handholds provide extra safety and support.
The head of the horse is shaped to look realistic, and it can be customized to match the child’s favorite color or style.
Three coats of polyurethane sealant protect the wood and keep it looking new for years to come. This is a great project for anyone with basic woodworking skills.
Project details: binkyswoodworking.com
20. Building A Classic Rocking Horse
The project is a beautiful addition to any child’s room. It can be made from either solid wood or plywood.
The plan uses a variety of tools including a saw, drill, screws, dowel rod, and stapler.
The first step is to determine the size of the horse and cut out the various pieces of wood accordingly.
The next step is to drill three holes in the bottom of the saddle and attach it to the horse body with dowels and glue. The stain or finish of your choice can then be applied.
The mane and tail are made from yarn and secured to the horse’s body with tape and glue. Finally, the eyes and ears can be attached.
Project details: shopsmith.com
21. Make A Rocking Horse By The Book of Man
Lastly, this rocking horse is a fun and easy project that can be completed in a few hours.
You use tulip wood for the body and ash for the stand. You can buy all the pieces ready-cut, or cut them yourself using paper templates.
Next, drill holes and use screws and dowel joints to assemble the body. Finish with acrylic varnish. For the saddle, find an old leather jacket from a shop.
The hoof rails made from two pieces of wood. The horse can be mounted on the stand using four swing iron brackets. Lastly, slip on a few leather chaps and giddy-up.
Project details: thebookofman.com
Conclusion
Rocking horses have been around for centuries and are a staple in many children’s lives.
If you are looking for a fun woodworking project that will also provide hours of enjoyment for your children or grandchildren, consider building them a wooden rocking horse.
We’ve compiled 21 different wooden rocking horse plans that you can use as inspiration.
Some of them are simple enough that even novice builders can handle them, while others may require more advanced skills.
But no matter what your skill level is, there’s a plan here for you. So get started to build this nostalgic childhood favorite today!
Most importantly, you have fun and enjoy the satisfaction of creating something beautiful and special for your child.


