Home improvement projects are usually time-consuming and require some specialized knowledge and skills to bring them to life.
That is the main reason why so many people opt for hiring contractors to do particular tasks for them.
However, their services may be quite pricey and not always worth it, as there are still many home improvement tasks and repairs that can be DIYed.
Changing the flooring is one of them. With the help of experts from Integra Direct, we’ve prepared a guide that will provide you with information about which tools and materials you will need to install new flooring yourself.
Below, you will also find 8 DIY flooring installation tips to help you prepare the area, level the floor, and assemble the planks.
Prepare The Area
Since you’re not a professional and most likely haven’t worked with flooring before, it’s best to start with a small area – a closet or a bathroom for example.
These are usually the areas that need the most attention, as they’re often damp, dirty, and can be found in every home.
Make sure to lay out a drop cloth and wear old clothes or an apron when doing this project. You may also need a mask to avoid inhaling the dust.
Removing excess clutter from the room is also vital. Having to maneuver around belongings is the last thing you want to do while laying a floor.
Considering hiring a professional company that specializes in junk removal. They can also help get rid of or recycle old flooring from your home.
Level the Floor
If you want to make sure that your floor will stay smooth and flush for a long time, you should take care of leveling the floor beforehand.
A DIY flooring professional will level the floor using wood putty or shims, but you can do it yourself by placing a layer of thick plastic sheeting over the floor and then adding some felt pads under the areas that are uneven.
Then, you will need to place plywood sheets over these areas and drive nails through them into the subfloor. The nails should be 2-inch high and spaced 6 inches apart. After this, you can lay down the new flooring on top of this layer.
Preparing Concrete Floors
If you want to install hardwood flooring on concrete, you will need to prepare it first by removing any cracks and cleaning up.
Then, you will need to use a hammer drill to create holes for the screws. It’s essential to make the holes deep enough so that the screw cannot be seen after installing the planks.
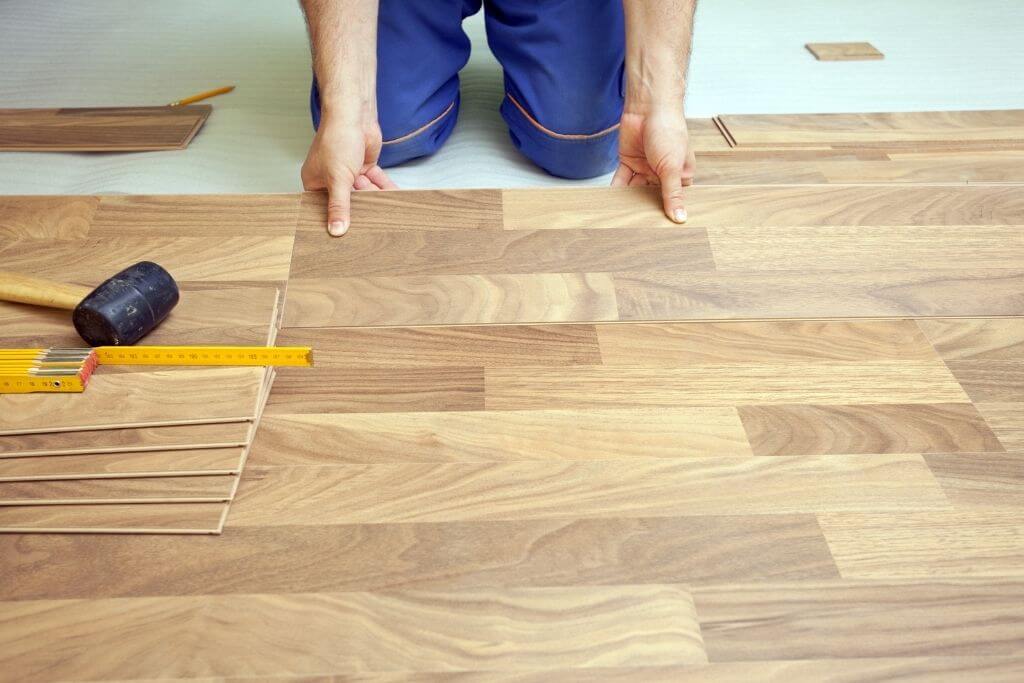
Unrolling the Laminate Flooring
Laminate is quite easy to install if you follow a few simple steps. First, unroll it in the room where you want to install it and make sure that all the panels fit together nicely.
You will need spacers between each panel for that purpose. Next, attach it to the underlay with a glue gun or staples. The underlay is essential to prevent creaking noises when walking around on laminate.
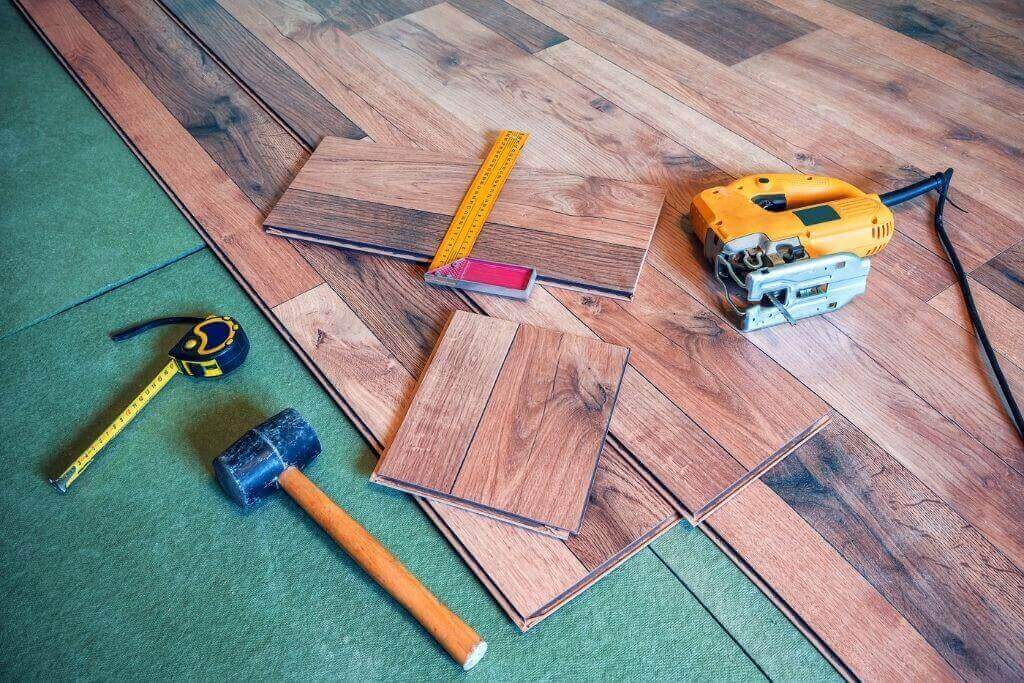
Installing Hardwood Flooring
Installing hardwood flooring is much more complicated than installing laminate or vinyl planks. Hardwood planks must be cut accurately to ensure proper fit and the correct height.
It’s also very important to get the right tools for the job – hardwood planer, circular saw, and miter saw (with a crosscut blade).
You will also need a straightedge or something similar for marking where you want to cut. Finally, it’s essential to nail down each plank properly so that they don’t move around later on.
If you don’t have experience putting hardwood floors together, we recommend hiring an experienced flooring professional for the job.
Putting Down Vinyl Plank Flooring
Vinyl plank flooring is one of the easiest types of flooring to install, as long as you follow directions closely.
The pieces of planks must be cut carefully and installed properly without gaps between them.
Each plank must be cut at exactly 45 degrees according to specific markings on the back of the sheet.
It’s also vital to stick them together with staples or glue instead of just nailing them together. This is because these planks tend to split easily.
Preparing Ceramic Tile Floors
If you want to install ceramic tiles, you must first remove all existing grout from between tiles with a grout removal tool, then clean up the area thoroughly with soap and water before laying down new grout.
When laying down new grout, use trowels instead of sponges, as it’s a much easier and faster way to do that job. Make sure that there are no gaps between tiles in order to achieve a smooth look.
After applying grout on top of tiles, wait 24 hours before walking on it or installing new fixtures over it.
Installing Laminate Tiles
Preparing laminate tiles for installation is quite easy – simply clean them with soap and water, then use a grout removal tool to remove grout from between them.
Then, all you need to do is use a hammer drill with a bit slightly smaller than a tile hole diameter (3/32-in) to drill holes in each tile.
After that, just follow manufacturer instructions and lay them down according to measurements provided on the packaging. Remember to use spacers between each tile for even spacing and the proper appearance of your new floor.
To finish off your laminate tile installation, just clean up excess grout with a grout sponge or trowel and leave everything overnight to let it dry completely before walking on it.
Bottom Line
Flooring installation is a daunting task, especially if you’re unsure how to get around to it.
However, it is possible to do it all by yourself, as long as you take the right precautions and follow the instructions to the tee.
Hopefully, this article will serve you as the first step to learning how to go about the process properly, minimizing the risk of you ruining your flooring.


![How To Start A Woodworking Business [Ultimate Guide]](https://handykeen.b-cdn.net/wp-content/uploads/2021/10/woodworking-business-1-300x200.jpg "How To Start A Woodworking Business [Ultimate Guide]")

![9 Best Pole Saws of 2023 [Ultimate Guide]](https://handykeen.b-cdn.net/wp-content/uploads/2021/03/best-pole-saw-300x200.jpg "9 Best Pole Saws of 2023 [Ultimate Guide]")
