Do you need a new chest that is big enough for your items or messy things as a decorative item?
Let’s add a personal touch to your project with some easy DIY wooden chest plans here.
We have compiled 32 ideas to make your chest as special as ever. Let’s dive in!
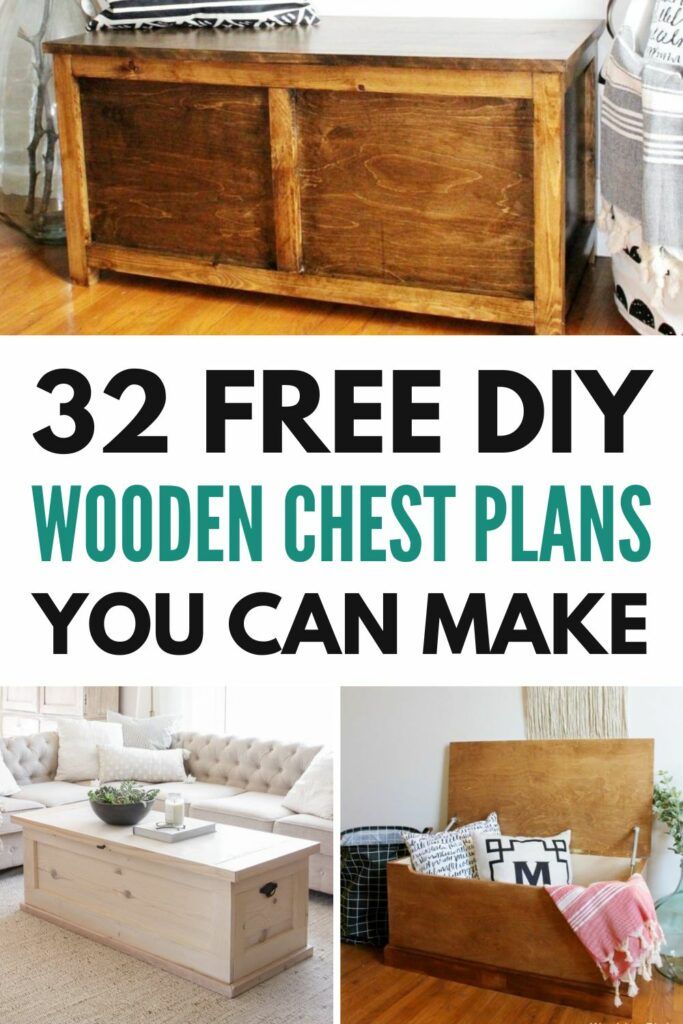
Table of Contents
- 1. Reclaimed Wood Storage Chest
- 2. Personalized Hope Chest Plans
- 3. Bedroom Storage Chest For Blankets
- 4. Simple Wooden Storage Chest
- 5. DIY Storage Trunk
- 6. Rough Cedar Rustic Blanket Chest
- 7. Blanket Chest Style Hidden Litter Box
- 8. Becca Trunk
- 9. Blanket Chest Plans
- 10. Garden Storage Chest
- 11. Simple DIY Storage Chest
- 12. Treasure Chest Plan
- 13. DIY Toy Chest
- 14. Wooden Chest Plan – My Outdoor Plans
- 15. Storage Chest – Bitter Root DIY
- 16. Make A Storage Chest – Lowes
- 17. Rolling Blanket Storage Box
- 18. Simple Modern Toy Box With Lid
- 19. Blanket Storage Chest
- 20. Hope Chest Storage Trunk
- 21. Free Cedar Chest Plan
- 22. Wooden Chest Plan
- 23. Build A Storage Chest – This Old House
- 24. Pallet Chest
- 25. DIY Hope Chest With Two Trays
- 26. Cedar Chest Plans
- 27. Wood Storage Chest – The Project Lady
- 28. Half Lap Blanket Chest
- 29. Hope Chest For The Holiday
- 30. Free Blanket Hope Chest
- 31. Dark Walnut Shaker Blanket Chest
- 32. DIY Modern Blanket Chest By Crafted Workshop
- Conclusion
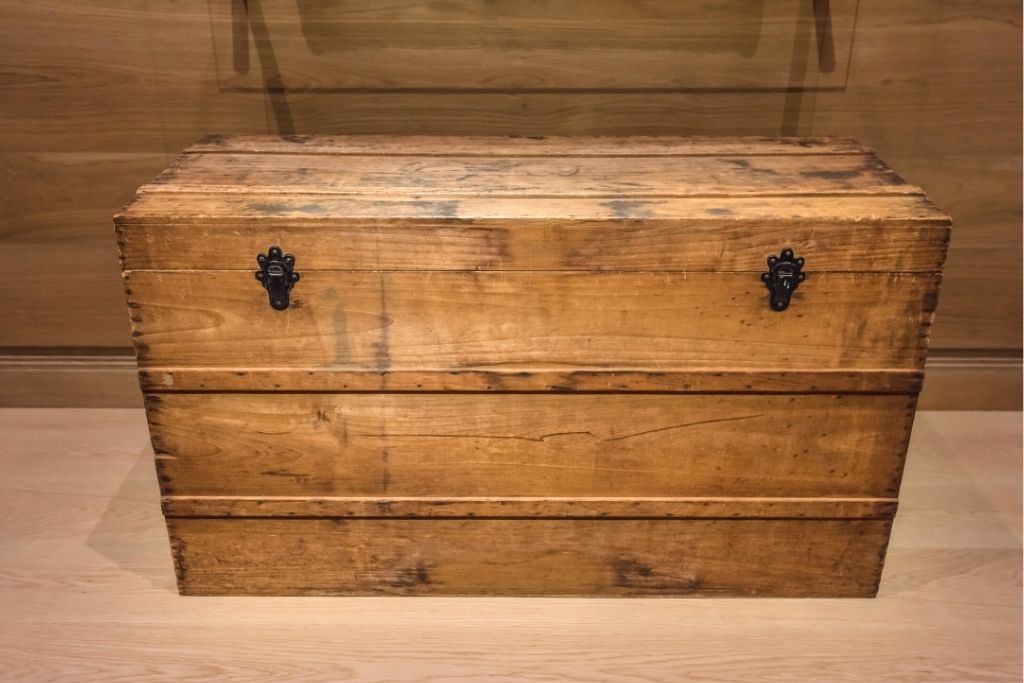
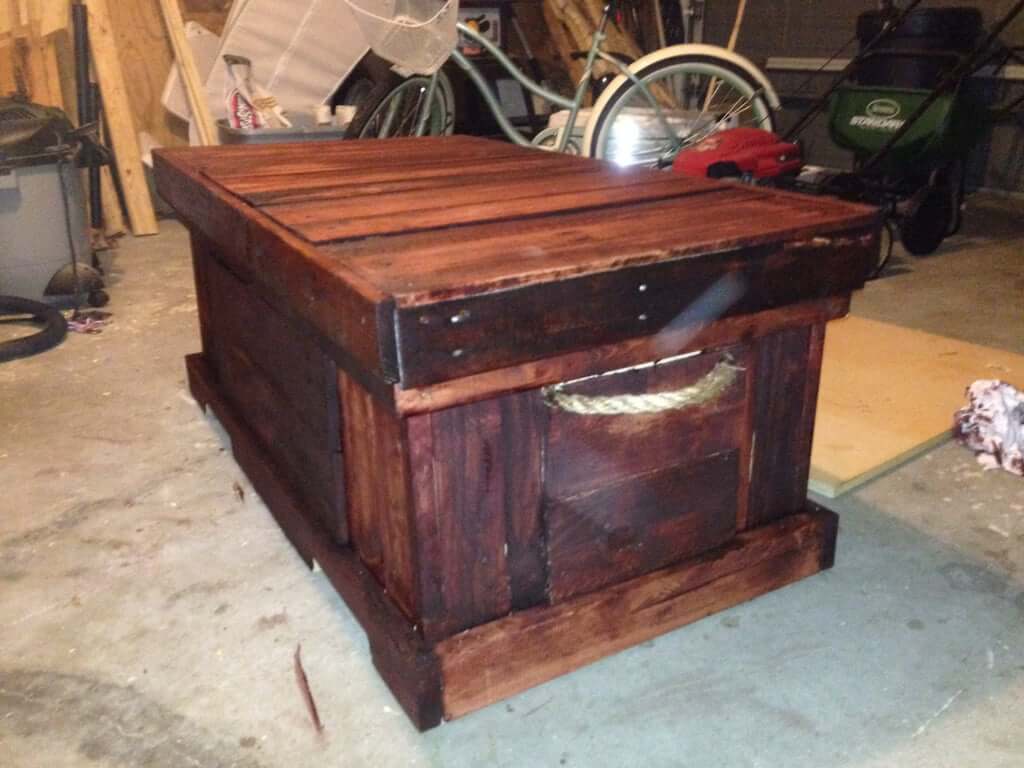
1. Reclaimed Wood Storage Chest
With just old reclaimed wood around the house, you can add an antique sense to your living space and store a great deal of stuff as its dimensions are 39” x 21” x 16”.
The secret here is to fasten the walls with the corner braces from the inside instead of using pocket hole screws. This way, your chest looks way old-fashioned, giving a vintage inspiration from the 1870s.
Project details: instructables.com
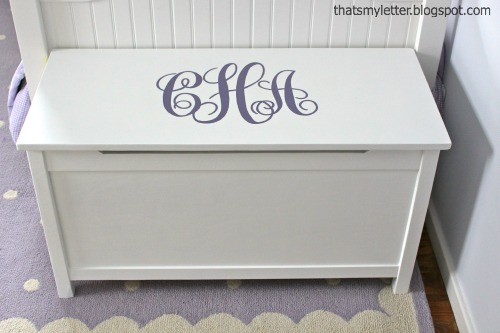
2. Personalized Hope Chest Plans
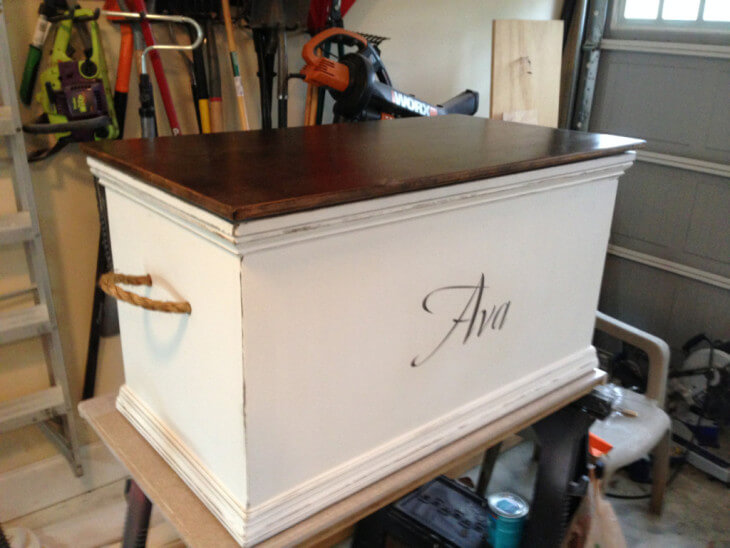
The hope chest is great for unmarried women to store goods to prepare for their one-of-a-time event. Even if you are married and with children, this chest can serve as a toy chest with hinges protecting your kids from harming their little fingers.
If you are thinking of a wedding or birthday gift for your friends, this is the way to go.
Project details: rogueengineer.com
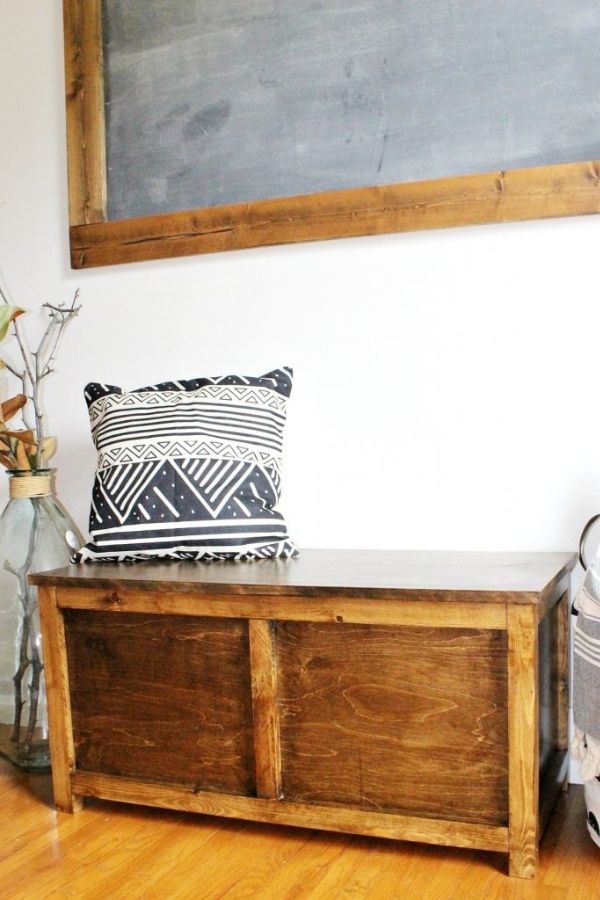
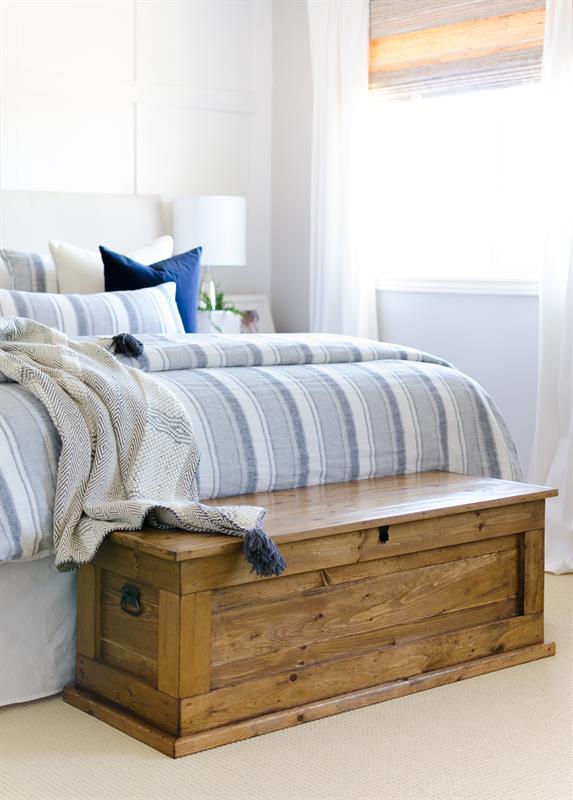
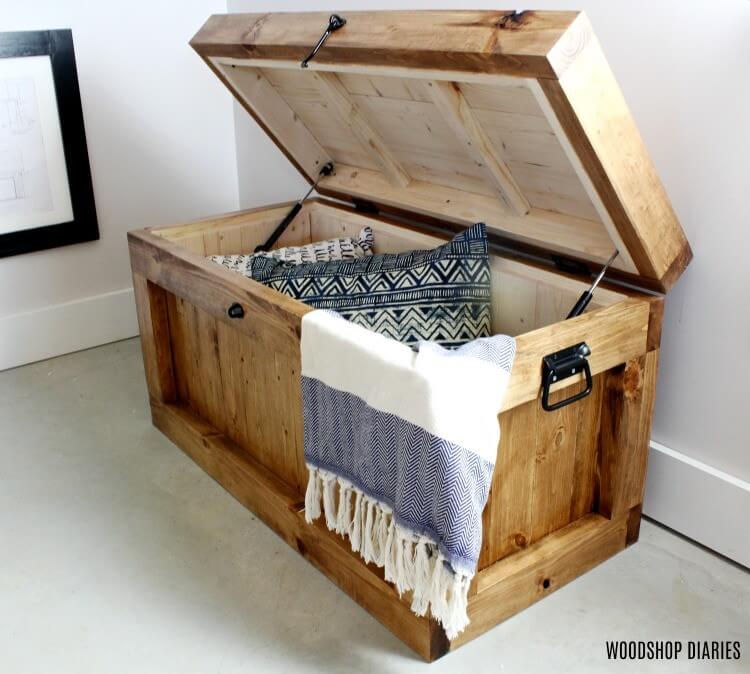
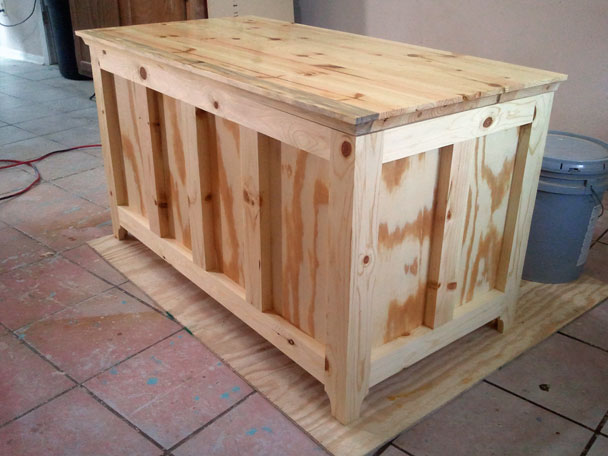
3. Bedroom Storage Chest For Blankets
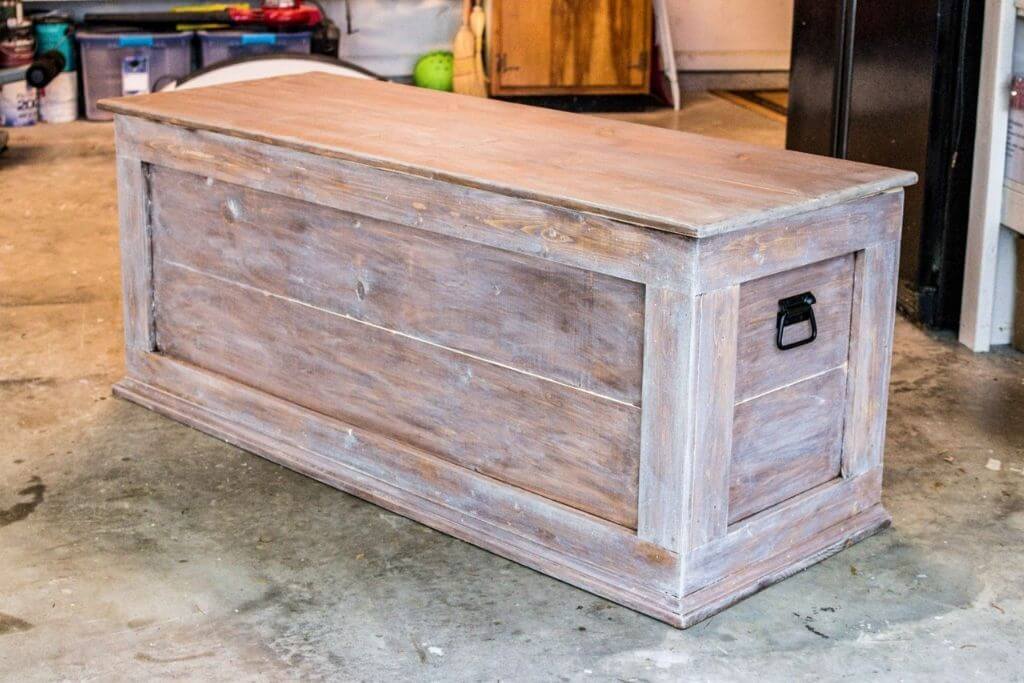
This real-wood chest packs 33% more volume than normal variants in the market. And with a length of 60”, it perfectly goes well with a queen-sized bed and works as an end-of-bed bench.
However, we recommend this plan for those with some woodworking experience, as it includes some tricky parts like molding and requires many tools (miter saw, pocket hole jig system, etc.)
Project details: buildingourrez.com
4. Simple Wooden Storage Chest
Though it produces a minimalistic design to match with various home decor styles easily, it poses a challenge to DIYers since you’ll have to deal with mitered corners.
You can either process this step or not, but if not, remember to cut down 0.5” of the side boards’ length.
But the surprising thing is that you need iron in this project. Use the iron to apply the glue to the edges better and give you a more clean finish. However, this is an option.
Project details: remodelaholic.com
5. DIY Storage Trunk
Upon building completion, the storage trunk is big enough to serve many functions in your home, such as a coffee table, a bench, or a seat by the window.
For this reason, you aren’t supposed to make any pocket hole on the top surface but leave it flat and smooth so that you can sit on or serve coffee with comfort. Instead, you will flip the board to hide all the nasty holes, and the nice surface is facing up.
Project details: lovegrowswild.com
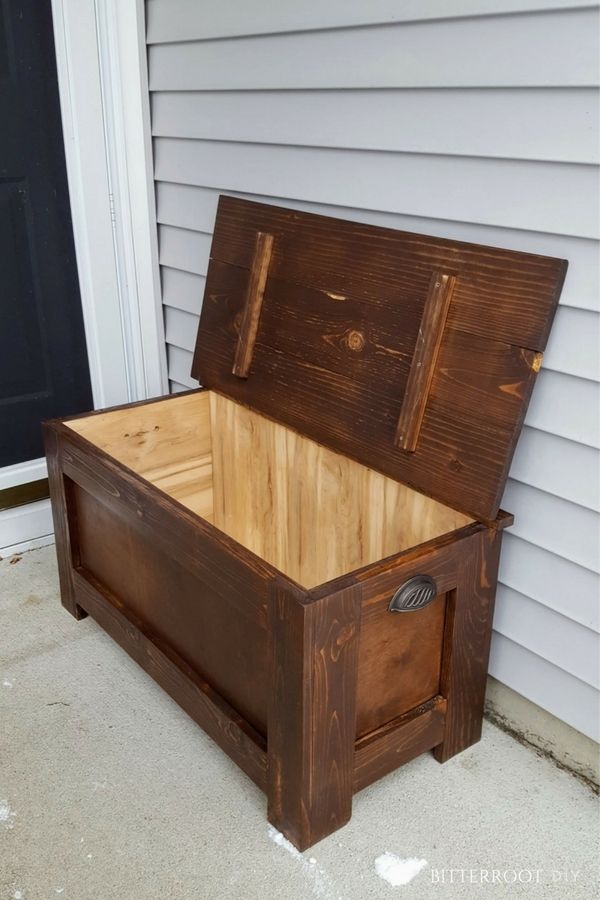
6. Rough Cedar Rustic Blanket Chest
One special thing about this DIY is that you can make use of boiled linseed oil for the final coat. This layer will prevent further damage and discoloration.
The interior pocket holes should have wood filler in them and sandpaper running on top in order to achieve a finessed look.
Just follow the 8 steps for this project with a detailed plan.
Project details: bitterrootdiy.com
7. Blanket Chest Style Hidden Litter Box
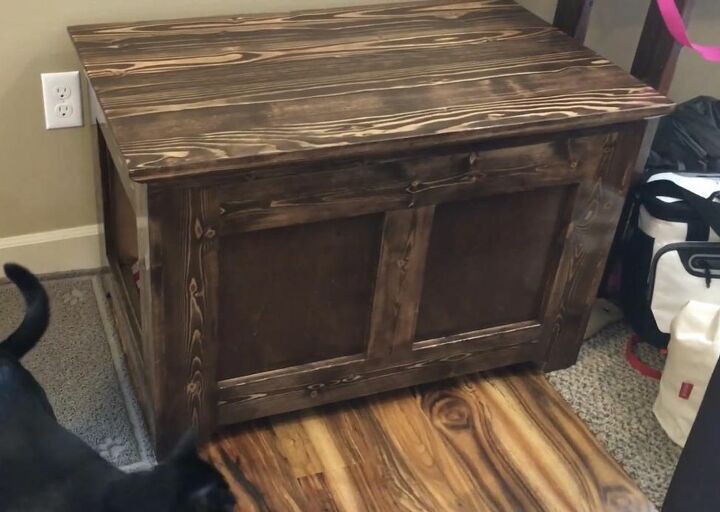
This is a litter box chest for cat owners who want to give their pets a bit of privacy by discreetly having the entrance door at the side instead of at the front.
The chest allows the cat to do its daily business without guests glancing at him and us to clean the box and/or replace it more easily.
As your kitty will frequently get in and out of the chest, apply clear sealant on the item so that you’re not blocking up air holes and gaps, protecting the safety of your pets.
Project details: hometalk.com
8. Becca Trunk

The selling point of this trunk is to install some cross boards at the base. You improve the clearance between the base and the ground, hence minimizing the trunk’s decay.
But this means that you need an extra step of base molding to hide the joints and enhance the chest’s aesthetic sensation.
Project details: ana-white.com
9. Blanket Chest Plans
The design looks like a one-afternoon job, but the blanket chest actually lets you show off your skills to make the tongues on 4 sides for extra elegance. With only some 1/2-inch tongues, you make the trunkless tedious yet still minimalistic.
Another draw of this plan is the grooves. You won’t use any metal braces or pocket hole screws to join the walls. So, the outcome turns out incredibly firm and delicate.
Project details: instructables.com
10. Garden Storage Chest
We aim to make it for garden tool storage, meaning that you’ll place it outside for easy access.
So, the first thing to bear in mind is to stain the chest with several (at least 2) coats to protect it from weather impacts. This step is not something optional, but you have to process it for an extended life span.
Since you will store heavy metal garden tools, remember to check if all joints are secure and rigid.
Project details: gardenplansfree.com
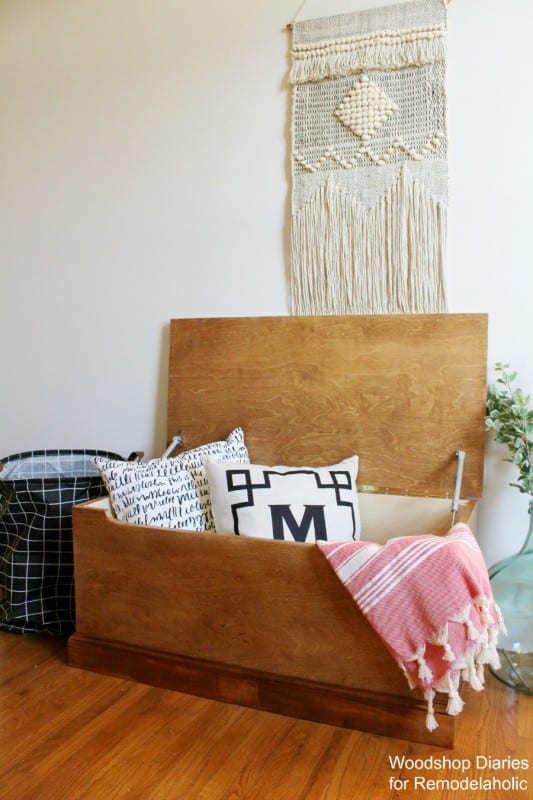
11. Simple DIY Storage Chest
This time, think differently by building the frame first! You have to make a frame with 2 added middle supporters, also acting as dividers.
The chest structure comes out more solid and durable to withstand more weight. After that, you will cut side panels to attach to the frame, which requires an accurate measurement to leave no spaces.
Using several separated panels is also a plus in case you don’t have a large board on hand.
Project details: woodshopdiaries.com
12. Treasure Chest Plan
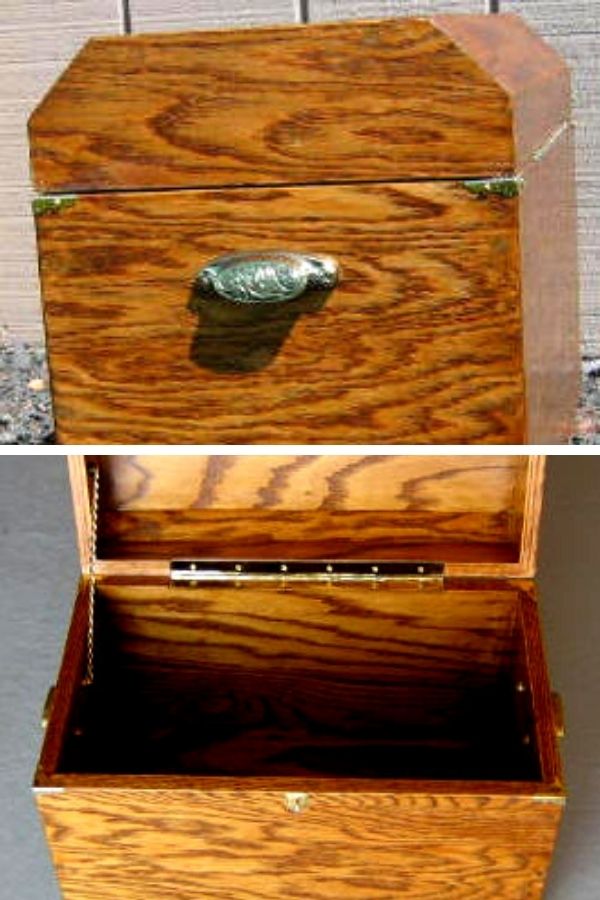
The name is self-descriptive. When it comes to treasure chests, the curved lid is a must. And it’s also the signature of this project.
However, a smoothly curved top is rather tricky for a DIY project, so there is an easier way to make a typical treasure chest lid.
Prepare 2 pieces of 3-1/2” x 18”. At the middle point of the width (1-3/4”), make a cut at the 45-degree angle. And your chest top is ready to go. Also, you can adjust or change measurements to fit your requirements.
Project details: wayneofthewoods.com
13. DIY Toy Chest
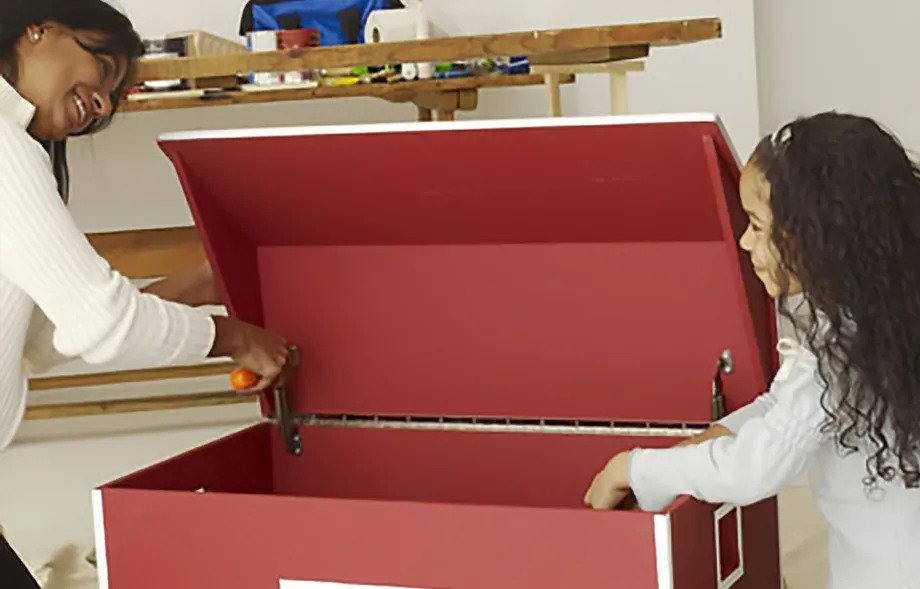
A toy box should be safe and portable, and this is what this particular DIY toy chest offers you and your kids. There are wheels on the bottom of the chest for easy moving, two special lid supporters to not slam down suddenly, and one continuous hinge for extra safety.
You can also ask for the help of your kids on this project and let them unleash their creativity.
Project details: thisoldhouse.com
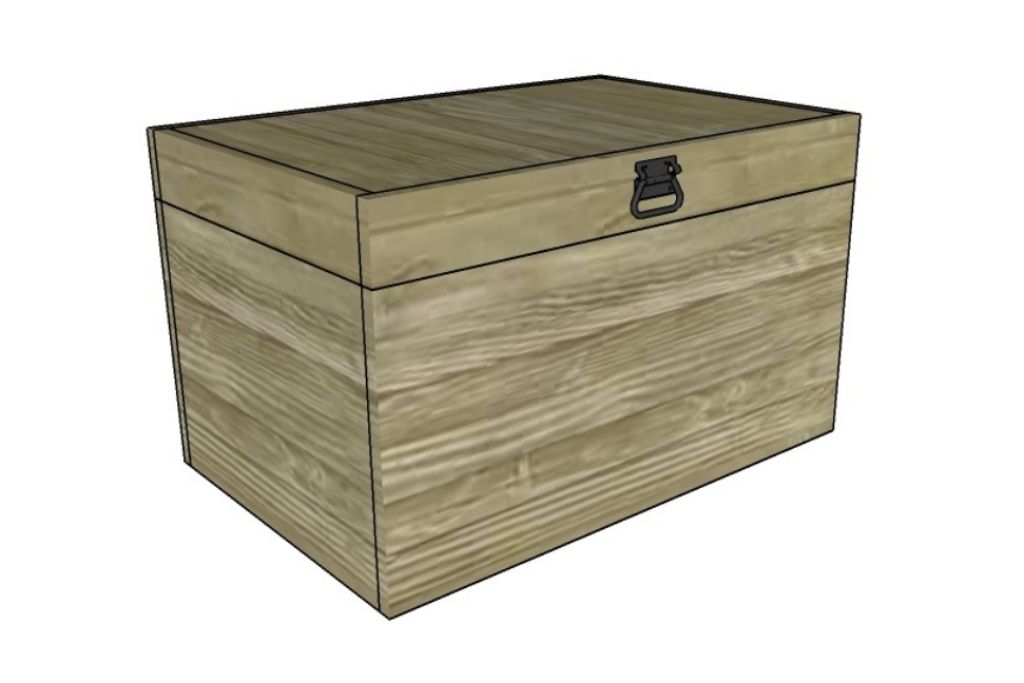
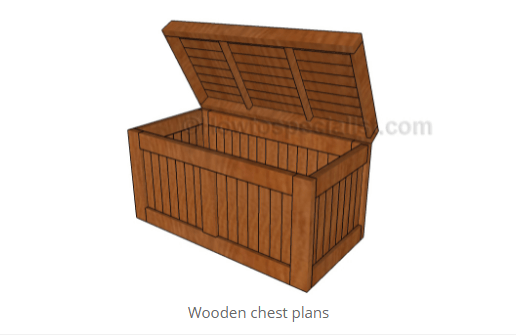
14. Wooden Chest Plan – My Outdoor Plans
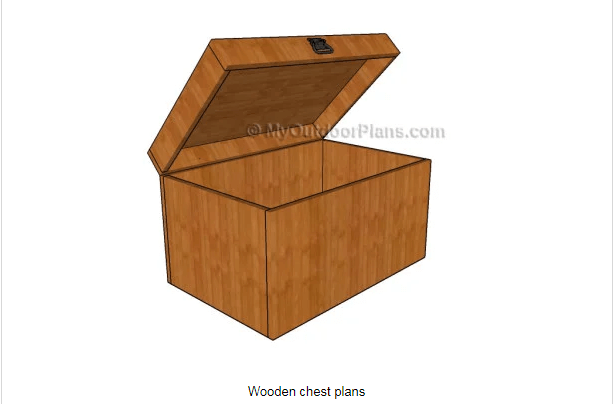
It’s not an overstatement to say that this plan is the simplest and easiest one to make on this list. The whole process will take you less than 1 day.
There is no added detail to make up the chest. Just cut the wood according to our instructed measurements, and you only need 4 screws to attach them together.
Project details: myoutdoorplans.com
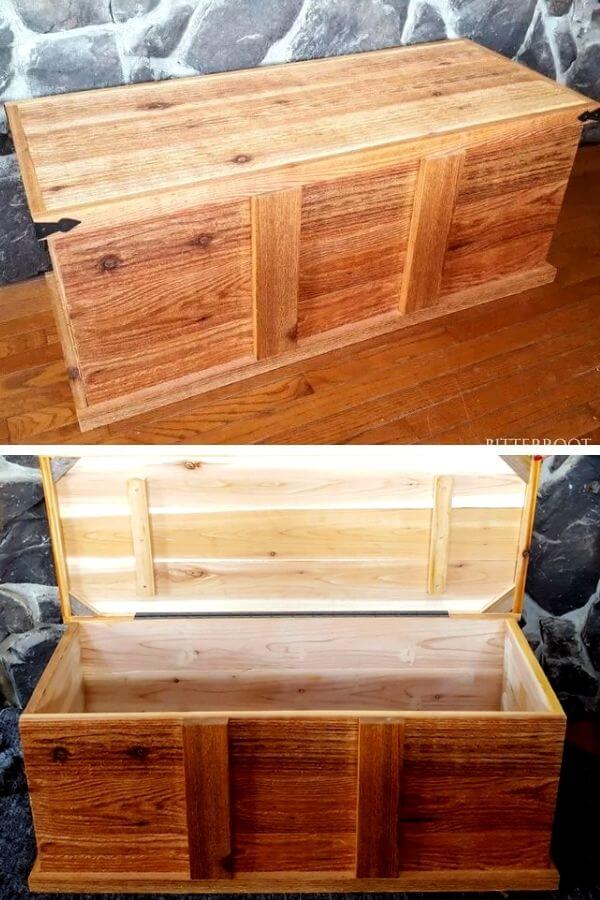
15. Storage Chest – Bitter Root DIY
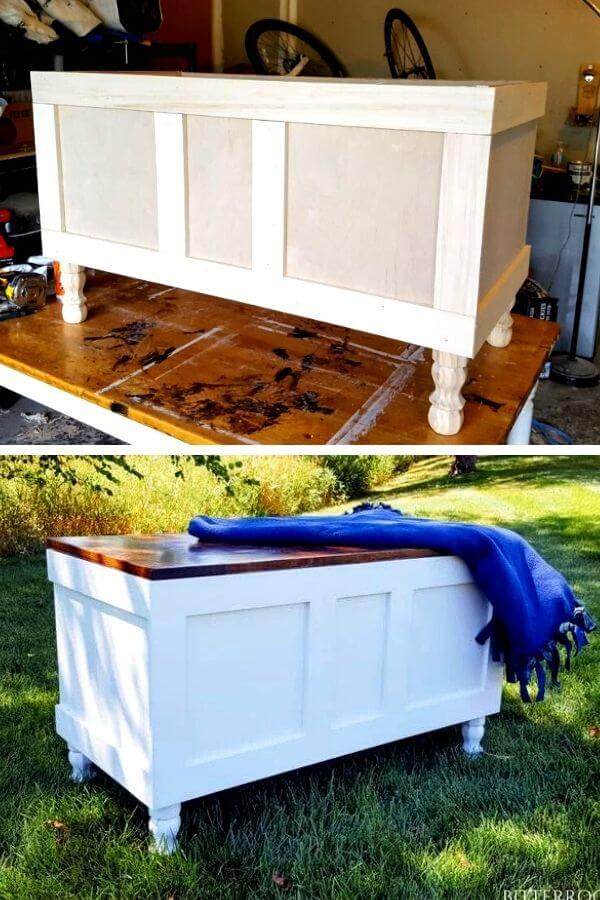
At first glance, you may notice its distinct feet. They are truly the draw of this plan, but we have to say that you have to pay an extra cost for them. Making those feet is more of a pro task, which you can’t finish without special tools.
What really surprises us is the chest’s durability. You will build a frame of plywood first, then stick the trim pieces outside.
Don’t mistake this for project number 11. They seem to share the same principle, but the processes are contrary.
Project details: bitterrootdiy.com
16. Make A Storage Chest – Lowes
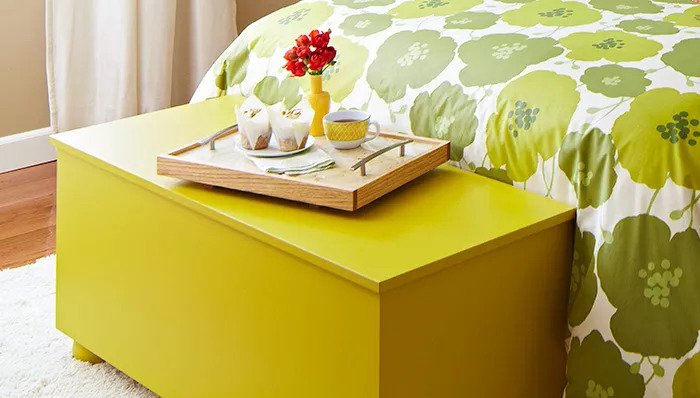
This is a fresh wind with a modern design, unlike other old-fashioned or simple plans on the list. The chest is even comparable to some items in a furniture store.
There is nothing special about the building process but the decorating step. Instead of choosing varnish or wood stains, go for the bright and neon colors light yellow or green with at least 2 layers.
The best part is, you can paint some patterns on the bright surface to make it more attractive, which won’t stand out on stained wood.
Project details: lowes.com
17. Rolling Blanket Storage Box
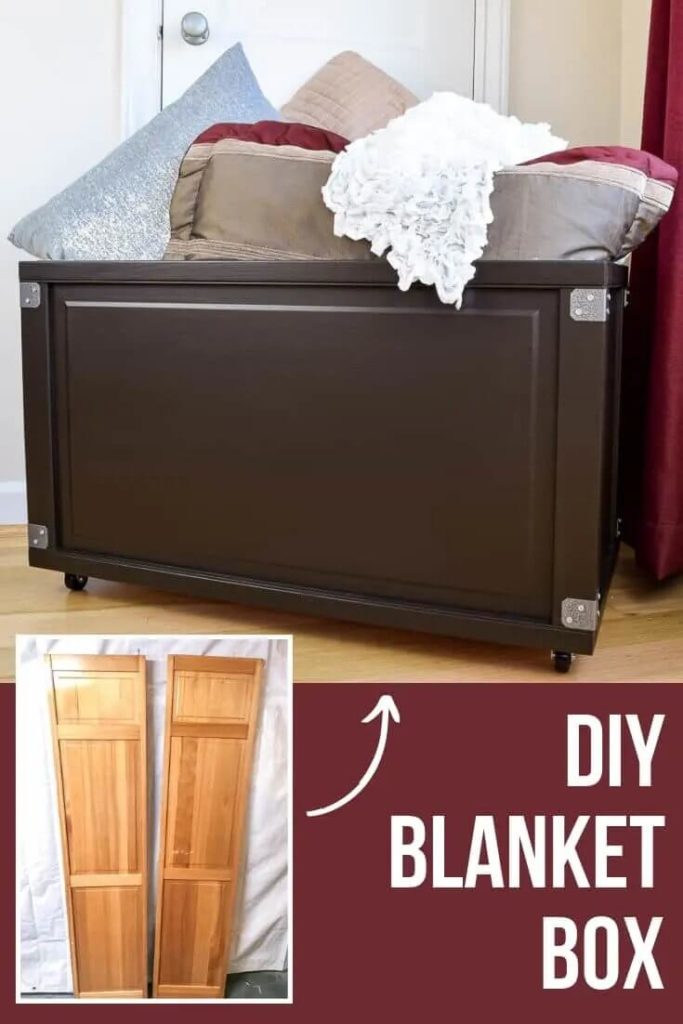
If you have doors you no longer use, you can turn them into storage boxes. The already built-in patterns on the doors will give you a hand to jazz up your chest.
Door woods usually weigh much less than solid chunks of wood you typically see, so it’s portable and easy to assemble. You also arm the chest with 4 casters to transport effortlessly.
Project details: thehandymansdaughter.com
18. Simple Modern Toy Box With Lid
When it comes to toy boxes, you don’t want your kids to get hurt when the lid pinch their little fingers. That’s why this plan comes with a cutout on the front side.
Also, you have to trim down all the flushed edges to ensure better safety. Several stains are advisable for a smooth surface
Project details: ana-white.com
19. Blanket Storage Chest
This is one of the safest chest on this list due to the lid support in the design. The hinge is also continuous to prevent straight slamming, but if the plain preset is not interesting to look at, you can try using decorative hinges.
If you want your chest to look shiny and smooth, start with 80-grit sandpaper and move up to 120-grit and 220-grit afterward. You can also choose not to apply a stain coat to keep the wood smell fresh!
You also can use it in your living, bedroom, or any elsewhere if suitable with any space.
Project details: learn.kregtool.com
20. Hope Chest Storage Trunk
Use plywood for this DIY chest, make sure to square off the rounded edges to make clean joints, and you’re going to end up with one beauty of a chest.
This contraption will force you to put the frames together first before all else, as well as slats onto its sides. The chest’s lid also lacks safety support, so you should look into lining it with soft materials or installing spring lids.
Project details: woodshopdiaries.com
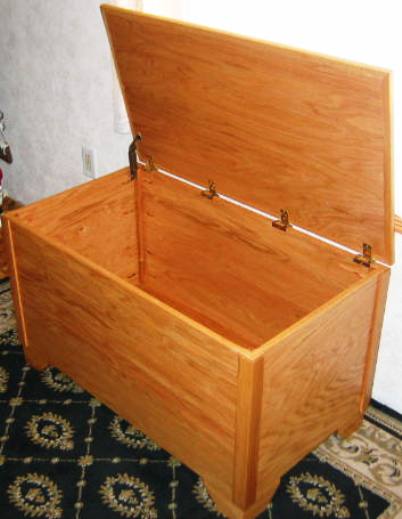
21. Free Cedar Chest Plan
This chest boasts a one-of-a-kind 2-piece lid. While others come with hinges on the corner of the top and back, you will have to install 2 hinges on the lid of this chest.
This design is quite space-saving when you open the trunk. But the hinges themselves are too flimsy to hold the lid, so you need 2 more lid supporters in the interior surface.
Project details: wayneofthewoods.com
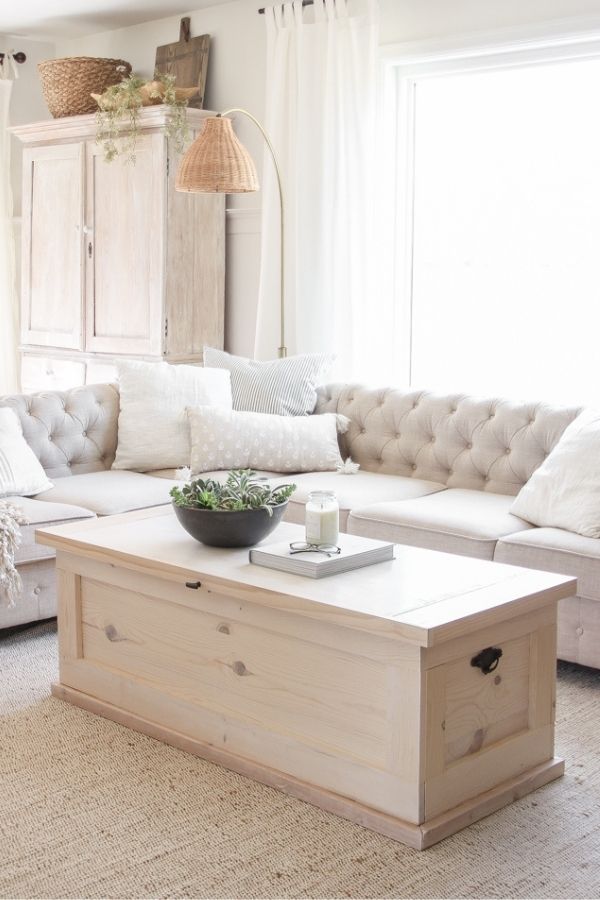
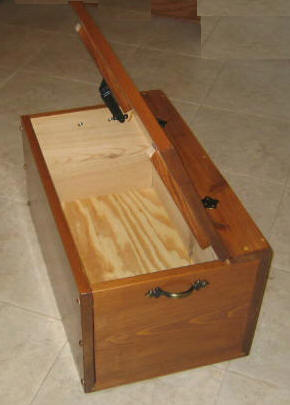
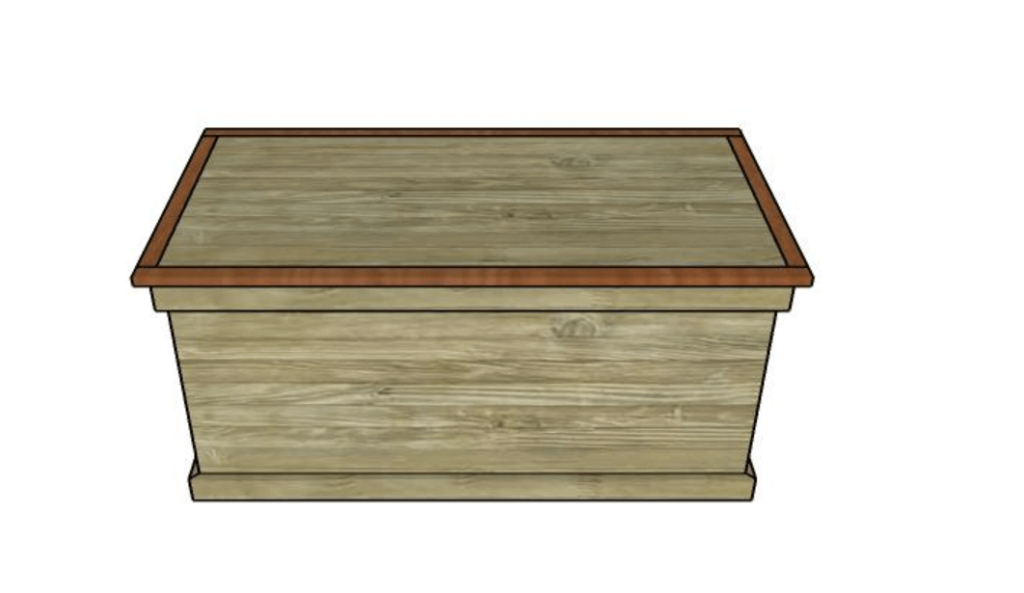
22. Wooden Chest Plan
This vintage DIY chest can be made by any average woodworker. It also can use as a coffee table.
The process begins with building the front frame, fitting panels and ends with assembling the bottom; there are no complicated steps at all.
One thing that can pose a challenge for some is the finishing touch, which requires them to fill in all holes and gaps and let them dry without leaving a single imperfection behind.
Project details: howtospecialist.com
23. Build A Storage Chest – This Old House
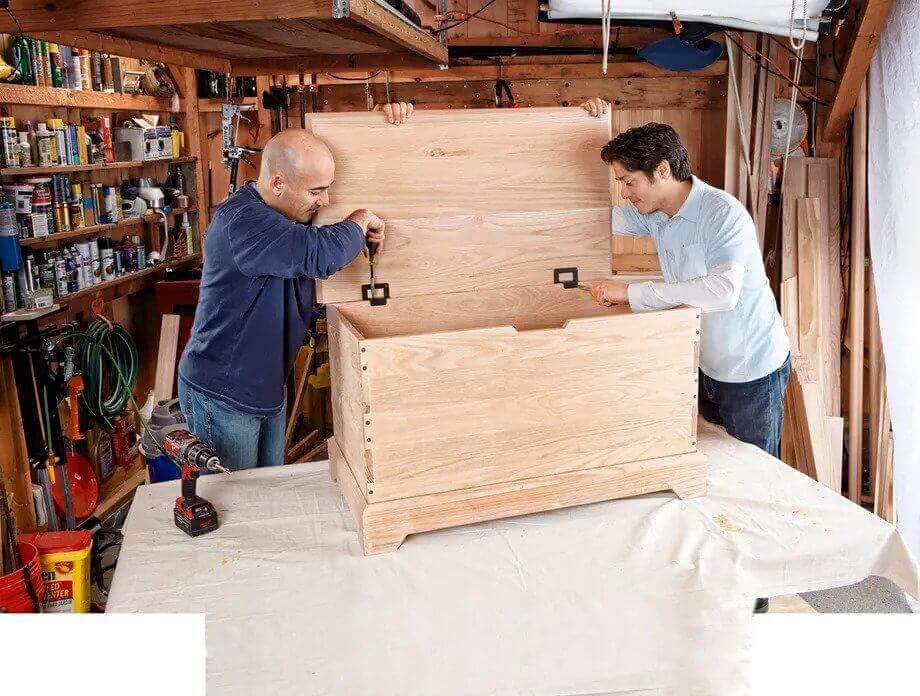
This storage chest piece can last for ages, This storage chest piece can last for a long time, thanks to its construction of solid oak and box joints.
You get to work by assembling the box and attaching the base and lid, then finish it with wipe-on stains. You can further prolong its shelf-life with polyurethane or tung oil.
Project details: thisoldhouse.com
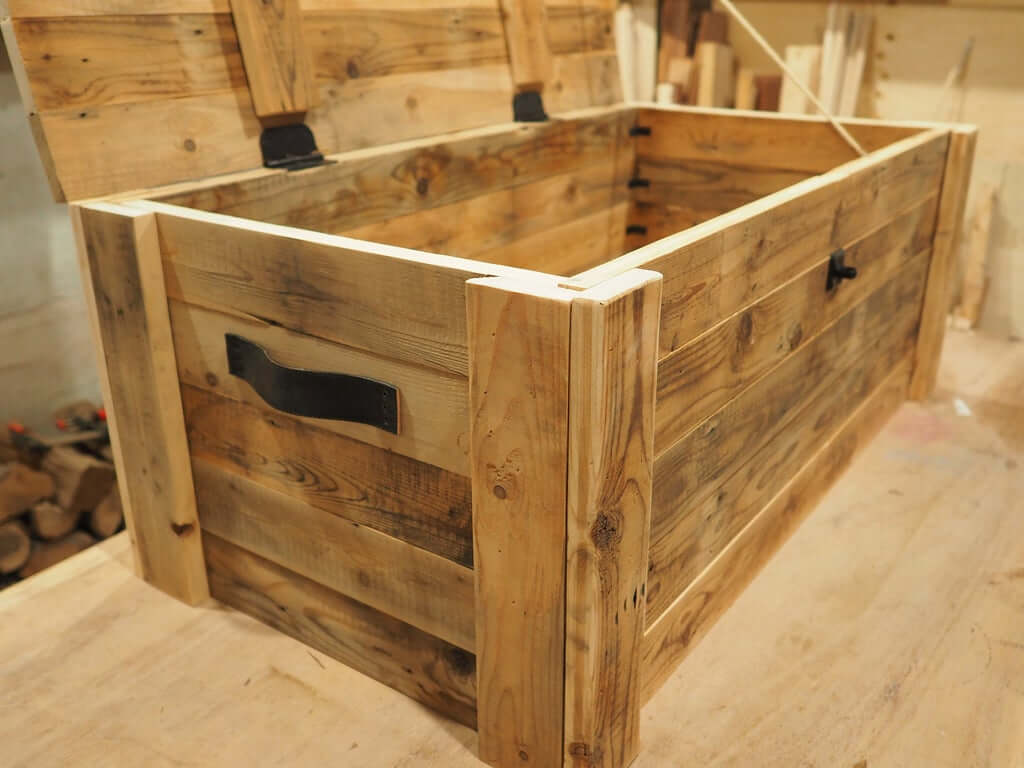
24. Pallet Chest
Use the original pallet base to keep the chest looking as if it has feet on the bottom. The frame goes on top of that base and gets filled with thinner boards.
As a pro tip, you can punch some holes onto the side of the entire piece and tie knots through it instead of making handles from scratch.
Project details: instructables.com
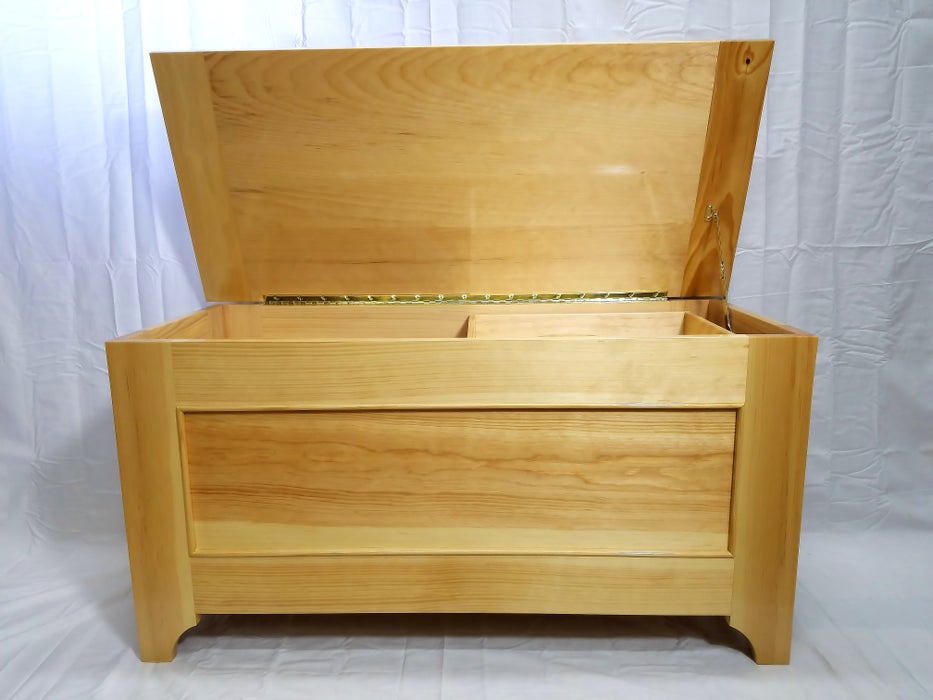
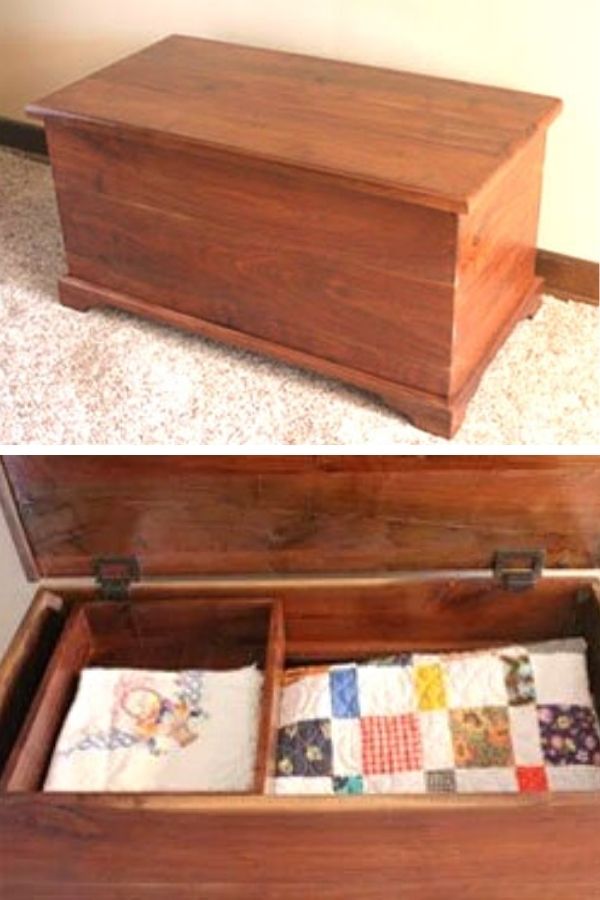
25. DIY Hope Chest With Two Trays
Having a small shelf inside the chest allows you to store some small keepsakes and easy-to-lose stuff. But it is somewhat cumbersome, especially hindering you from accessing the items below.
It is not the case for this chest, as the two trays are slidable along the chest’s length or remove easily, thanks to the integrated cleats.
Project details: myoutdoorplans.com
26. Cedar Chest Plans
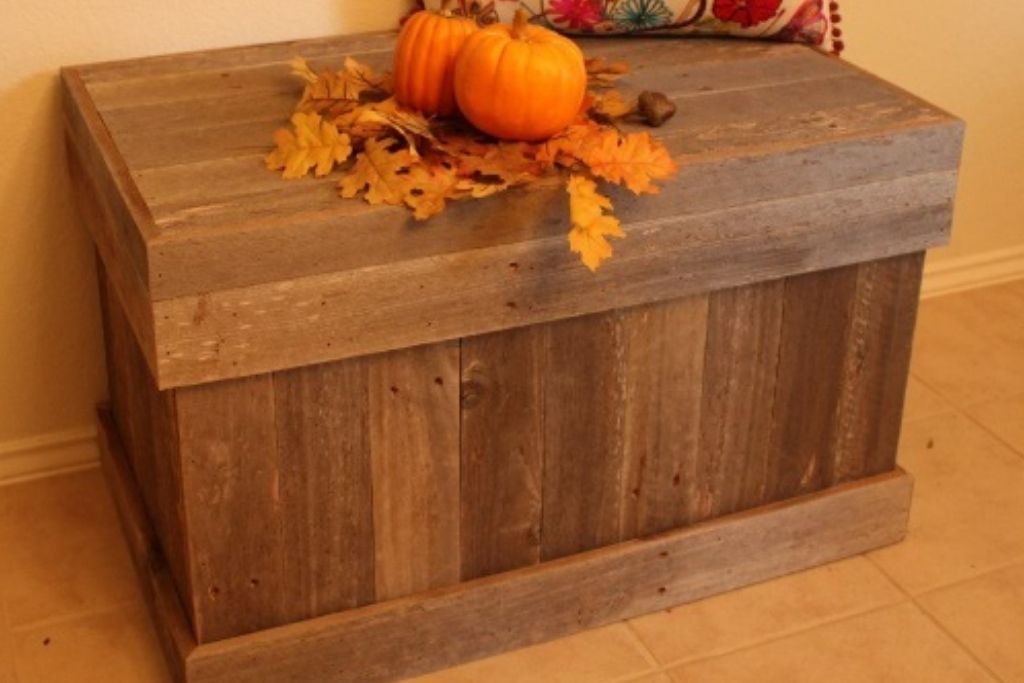
This chest will exceed your expectation for its easy and economical project. You only have to pay for the nails since we will make use of old fences to make it.
The fence boards have already come with rails, so we will take advantage of them rather than wasting time attaching trim pieces outside.
Project details: mycarpentry.com
27. Wood Storage Chest – The Project Lady
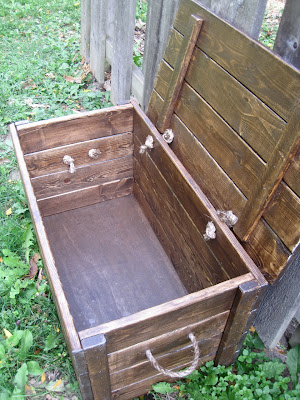
The first thing catching your eye may be the rope hinges instead of metal ones. This design is rather old-fashioned but will save you some bucks and ease your work a lot, as you only have to drill some holes and tie the knots.
That said, using rope makes the chest less solid, so you won’t want to store heavy stuff inside or transport it often.
Project detail: theprojectlady.com
28. Half Lap Blanket Chest
For this project, using grooves to joint wood to enhance its stability and beauty. So, if you don’t possess a dado blade, this plan may be impossible.
Since this chest is quite large, you will need a more robust frame by building a lot of side panels, around 8.
Project details: jayscustomcreations.com
29. Hope Chest For The Holiday
No matter what material you use for this chest: red cedar, white pine, cherry, oak, or pine wood, the chest will end up gorgeous and affordable.
The wider pieces of this piece will need to be joined using wood biscuits rather than glue or nails, though, so it’s quite unique in construction tactics.
In order to make the piece look finished and perfect all surfaces, try switching to a hand plane or belt sander!
Project details: extremehowto.com
30. Free Blanket Hope Chest
This blanket hope chest is a doozy for beginners, as it is simple and easy to make. You only need pieces of oak or other hardwood to make up the general construction of the chest.
The most appealing detail here is the legs. They are not cylinder legs as normal but made by connecting 2 pieces of wood. You will have to use a miter saw to cut them at 45 degrees.
Project details: woodworkingcorner.com
31. Dark Walnut Shaker Blanket Chest
The project requires you to make 4 corners higher than the side panels, and the excess height will act as 4 legs. Also, the length is twice as long as the width, so you need 2 supporting cleats at the bottom to improve its strength.
Another special thing about this chest is its lid, which doesn’t come from a whole but 3 boards. That’s why you need 2 cross supporters to keep them secure.
Project details: bitterrootdiy.com
32. DIY Modern Blanket Chest By Crafted Workshop
This is a toy chest out of red oak, which was stained white. It looks clean.
The black base is a nice contrast and it really modernizes the piece. The lid supports were also installed to keep the lid open when getting things out of the chest.
Overall, this is a great project for anyone who wants to create a safe and stylish toy chest.
Conclusion
When you’re looking for a way to store your items, it’s time to consider wooden chests.
These are durable and long-lasting storage solutions you can personalize with paint or stain as you desire.
They also come in all shapes and sizes depending on the need, making them perfect for every room in the house – from kids’ rooms to living spaces.
If you want a storage chest this weekend, start building one of these wooden chest plans.

![9 Best Pole Saws of 2023 [Ultimate Guide]](https://handykeen.b-cdn.net/wp-content/uploads/2021/03/best-pole-saw-300x200.jpg "9 Best Pole Saws of 2023 [Ultimate Guide]")


