Chess has become quite popular, perhaps because this game is typically associated with intelligence, and training brains.
But as well all know, for you to enjoy this game, you must have the basic requirements like a chess board and the pieces among others.
While the most obvious way of acquiring these requirements is by purchasing them, what if there were alternative ways to have your chess board?
That’s precisely what we want to talk about. Here are 16 great DIY chess board plans ideas that you should try.
Table of Contents
- 1. Simple DIY Chess Board
- 2. Vertically Wall-Mounted chessboard
- 3. How To Build A Wooden Chess Board
- 4. Build A Simple Elegant Chessboard
- 5. Make An End Grain Chessboard
- 6. Chess Set Make From Wood
- 7. Make A Custom Chess board and Box
- 8. DIY Chess and Checkers Set
- 9. DIY Vertical Chess Board
- 10. DIY Outdoor Chess Board
- 11. Solid Wood Chess Board
- 12. DIY Garden Chess Board
- 13. How To Make A DIY Chess Board
- 14. DIY 3D Chess-Board
- 15. Make A Wooden chess board
- 16. Make A Laminated Pine Chess Board
- Conclusion
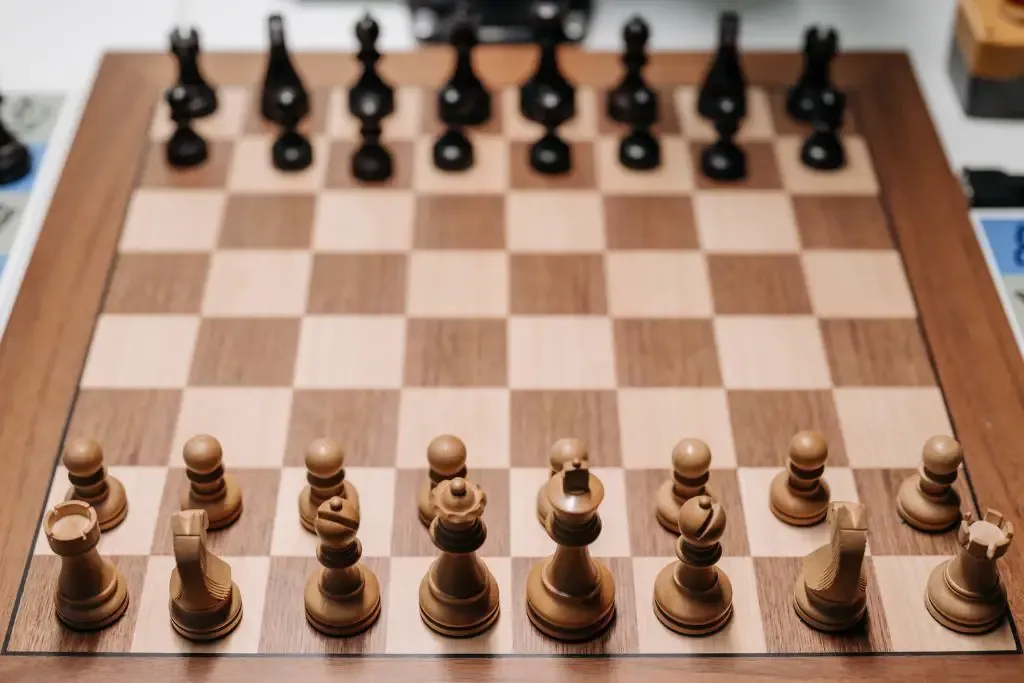
1. Simple DIY Chess Board
This project will only need your low to intermediate-level DIY skills to build from scratch.
To start with the board, you will need materials like cherry and ash, red cedar, and plywood.
By applying your basic DIY knowledge, you will in no time have the chess board in existence. The checker pieces can be made using cherry and ash too.
Clear coat is necessary for all the pieces while half of the pieces will need stain.
Besides, you will also need a storage box for storing your pieces. To make the storage box, you will require raw materials like square plywood and pine.
Project details: instructables.com
2. Vertically Wall-Mounted chessboard
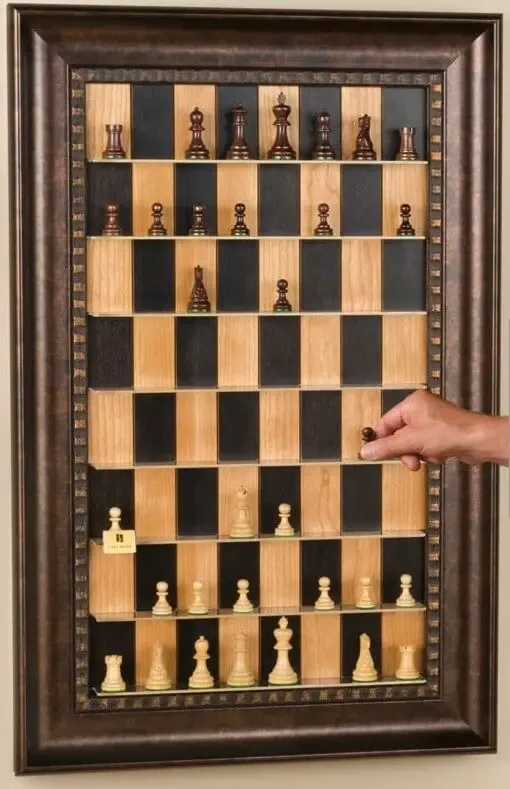
This is a perfect way to defy the conventional forms in which chessboards come in. How about a vertically wall mounted one?
Sounds good, right? Well, to go about having a vertical chessboard mounted on the wall, you will need to horizontally lay eight pieces of wood and vertically stand a piece for the shelves.
Next, stain the wood by applying several coats then seal using polyurethane. You then need to paint the board before re-arranging the rows.
Finally, you need to assemble the frame by gluing together the crown molding.
Project details: board-games.wonderhowto.com
3. How To Build A Wooden Chess Board
This could arguably be the most basic way of building a chess board. You first need to glue together the wooden pieces.
The next task is preparing your chess board by removing the boards from the clamps of glue the scraping off excess glue.
Have your chess board pieces ripped to 2 inches if possible or even less. The next process you need to do is lay the pattern for the chess board.
Then you need to plane the DIY chess board before trying to have the edges of the chess board squared.
It is important to add the edge banding to the chess board and sand it again. Lastly, you are free to apply a wood finish to make it look meticulous.
Project details: forest2home.com
4. Build A Simple Elegant Chessboard
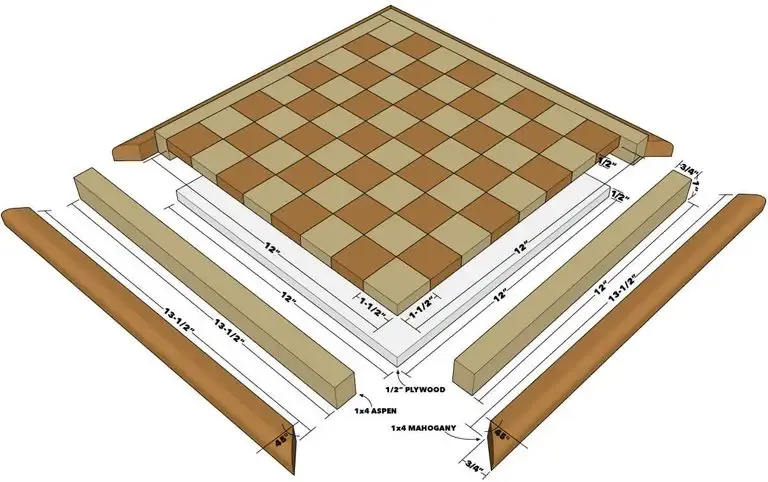
Have you ever imagined the joy of playing chess on a chessboard that you have custom-built to your liking? If so then look no further, here is a perfect and simple way to go about it.
You will need a table saw, miter saw, router, a nail gun and clamps as your tools. As for the raw materials, you will need to have wood glue, plywood, mahogany dark wood and aspen light wood.
On the table saw, rip the board then cut the boards using miter saw. Go ahead and glue up the strips. You can use a plane or sandpaper to smoothen the board.
You then need to cut off the edges which are rough. Cut across the board before flipping the strips and then gluing them up. Fasten the plywood to the chessboard then rip the wood to the desired depth.
The next procedure is scribing the lengths of wood and then rounding over before ripping the darker wood.
Finally, the mitered boards are to be clamped and glued to the chessboard and allowed to fully cure.
Project details: familyhandyman.com
5. Make An End Grain Chessboard
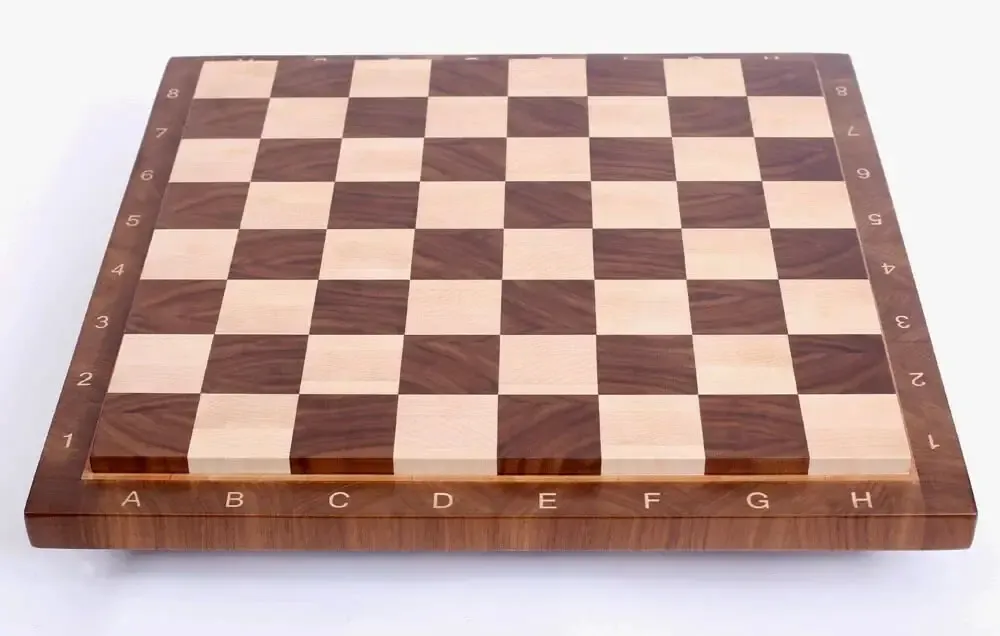
For a DIY enthusiast, this process seems a little bit complicated when it comes to making chess boards but in reality that may not be the case.
You need to get your measurements and drawings right through in order to come up with the best wooden panels. The major issue now is coming up with a great playing surface.
The next step is making the chess notations. A CNC machine might come in handy here when making numbers or letters at the border.
You then need to glue the chessboard followed by sanding it. At this point, the chessboard is almost done and all you need to do is some finishing.
Project details: instructables.com
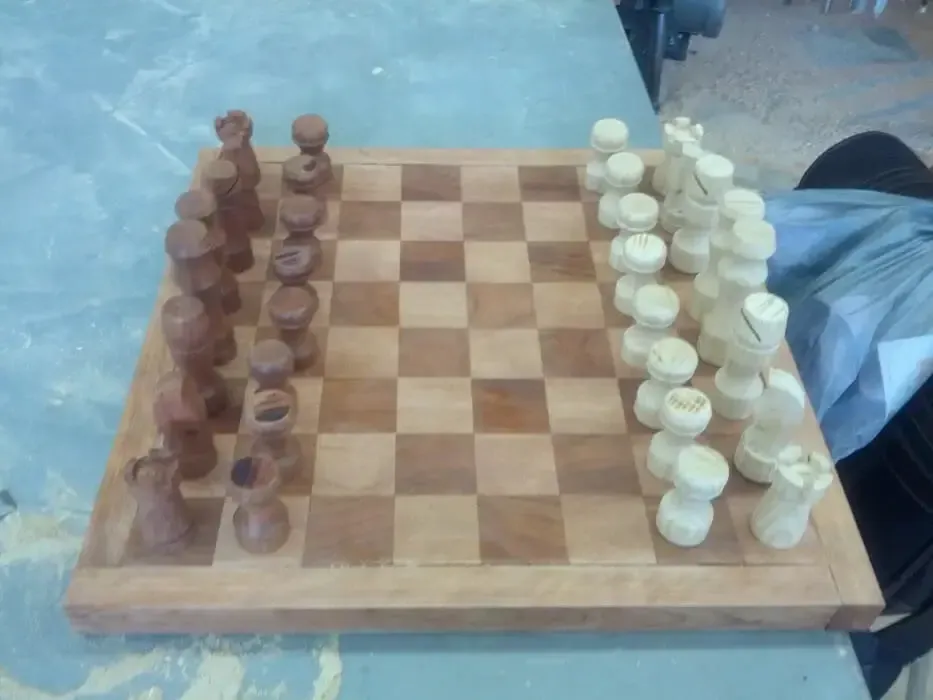
6. Chess Set Make From Wood
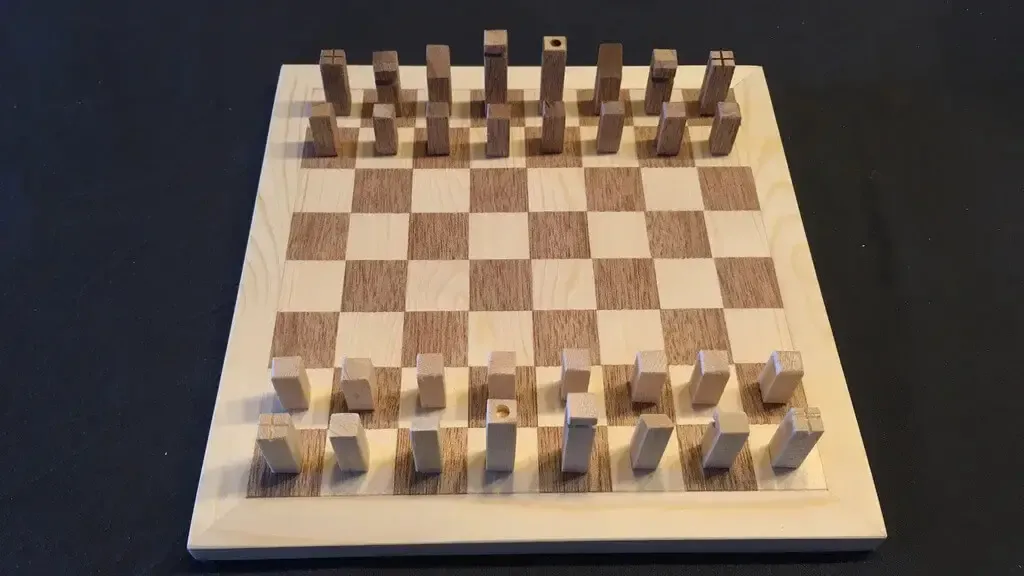
You basically need pinewood as well as meranti wood to make this chess board.
Go ahead and saw the materials to an appropriate size then glue them together. Keep in mind that the meranti wood is used to make the dark pieces.
On the other hand, use the pinewood for the brightly colored parts and the borders as well.
At this point, you need to make the framework and you can use a router to make a groove to ensure the board and the framework is the same size.
Then finally make the chess pieces from the same wood and you are good to go.
Project details: instructables.com
7. Make A Custom Chess board and Box
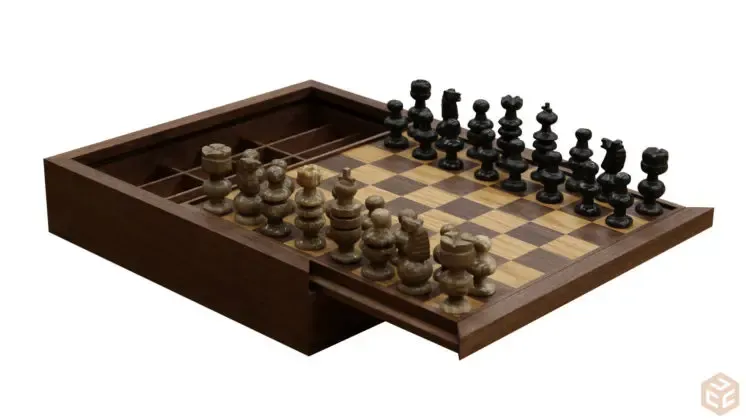
What is unique and special about this type of chess board is that you have a box to store the pieces. You can bring your creativity into action when working on this project to come up with something quite spectacular.
The chess board will act as the top of the box, and that is where you place the chess pieces when playing. Underneath the chessboard is the box which has a drawer-like structure.
This drawer can be opened and closed, and this is where the chess pieces are usually stored. This product is beautiful and elegant. Its multipurpose nature makes it a must-have DIY chess board that most people would love to possess.
Project details: jayscustomcreations.com
8. DIY Chess and Checkers Set

To create this board, all you need to do first and foremost is assemble it. Gather all the parts that you’ll need to work with and start the process.
Ensure your measurements are precise and all surfaces smoothened either using sandpaper or a jack plane. Then use a drilling machine to drill a curve, preferably a two-stage one.
You will fill all the squares of the board with epoxy before letting it dry. Use sandpaper to smoothen the dried epoxy then create a frame for your board.
Using clamps and glue, join them together and use your preferred finish after everything has dried.
Project details: addicted2diy.com
9. DIY Vertical Chess Board

This is another awesome idea on how to create your own vertical chess board. You need to start by cutting plywood into your desired length.
Next, go ahead and make some groove cuts on the chess board so as to accommodate all the platforms. The vertical grooves should come next. Using your painter’s tape, mark the squares and follow up by applying stain.
Having done all this, the central part of the chessboard is done. Now you are only required to do the installation of the vertical platforms and then insert them into the vertical frame.
Project details: thenavagepatch.com
10. DIY Outdoor Chess Board
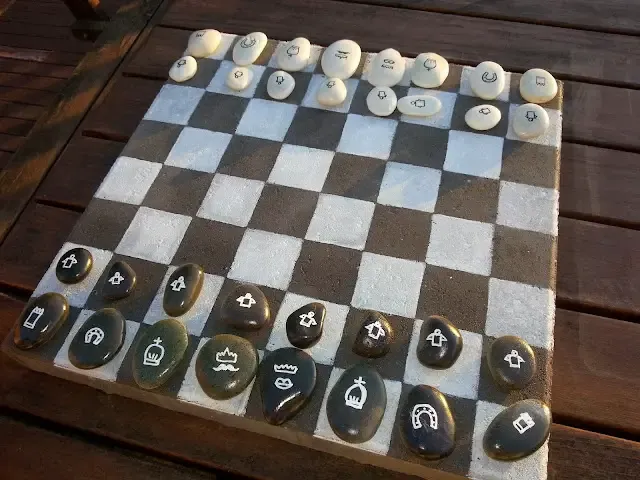
With this project, you will design and come up with the measurements. You cut the block and use your brush and paint to come up with the desired patterns.
You can use white and black pebbles for this process to act as chess pieces. Identify them using a sharpie.
Due to the fact that this is an outdoor board, simply apply paint suitable for the outdoors and you are done.
Project details: myheartnmyhome.blogspot.com
11. Solid Wood Chess Board
You will need cherry and Norway maple wood to carry out this project successfully.
First, you will mill the lumber and prepare them to the required size and shape for your chess board.
Then, you need to glue up the clamps and use a hand plane or glue scraper for scraping away the dried glue.
The next thing is to cut some perpendicular strips before laying them out. Go ahead and flip all the other strips to come up with the checkerboard pattern then glue up again. It is very necessary to make the border and then do the finishing.
Project details: instructables.com
12. DIY Garden Chess Board
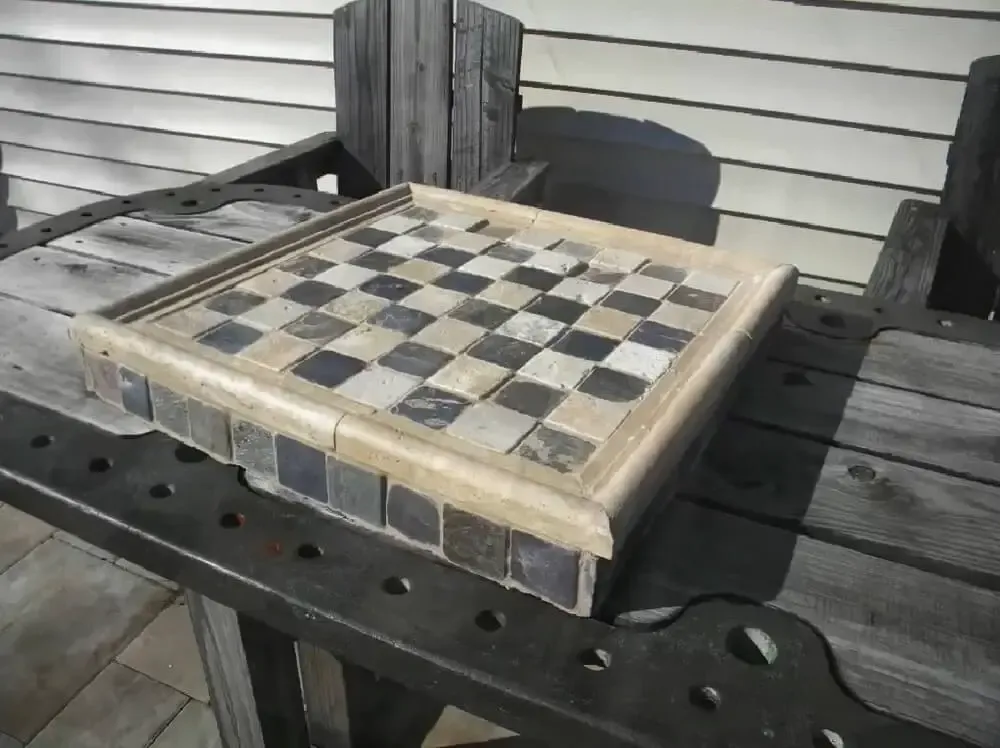
Here is a DIY chessboard that is made out of square mosaic tiles as the dominant material at the top surface and even the sides as well.
The square mosaic tiles are mostly colored in black and white to give a distinctive chessboard appearance.
The white and black tiles are arranged in an alternating manner just like you normally have in most chessboards. On the sides of the chess board are mostly dull-colored tiles. Some tiles on the sides are dark brown while others are terracotta.
The borders are also made using tiles but these tiles are shaped somehow differently. The border tiles are brown in color and have been placed elegantly on the borders between the square tiles at the tops surface and those on the sides.
You can also customize the chess pieces to shapes of objects of your liking.
Project details: project.theownerbuildernetwork.co
13. How To Make A DIY Chess Board

Here is a simple procedure to follow in making your chess board with 2 different designs.
You need to create the squares from the chess board. The next step is gluing the pieces together. Your clamp then comes in handy to help you clamp everything together.
Then in order to make the chess boards as smooth as per your requirements, you need to sand the surface of the board using sandpaper.
Also, you make the frame by cutting the grooves off the chess board. The purpose of this frame is to serve as a ledge for holding the chess pieces that are not in play at any given moment.
Project details: herculeschess.com
14. DIY 3D Chess-Board
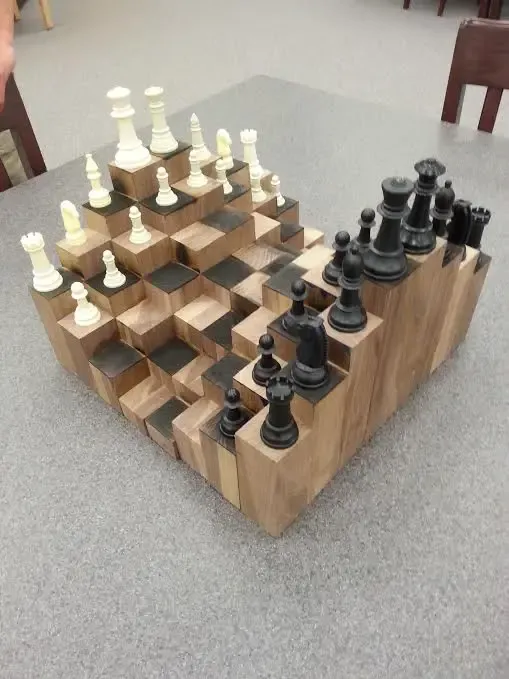
What a great idea indeed. Can you imagine, a 3D chess board. Well, this can be made a reality when done in the correct way.
Armed with enough pieces of walnut timber and a properly equipped workshop, you can be able to build your 3D chess board.
Nonetheless, you need a perfect design and the gather the required materials. It is also a good idea to draw out the plans if possible beforehand.
Then prepare and cut each individual block as per the plan already drawn. You then need to find a way to assemble and glue everything in place.
You will use a blow torch and burn the top to provide the typical pattern of a chess board. Finally, glue everything and arrive at the final product.
Project details: instructables.com
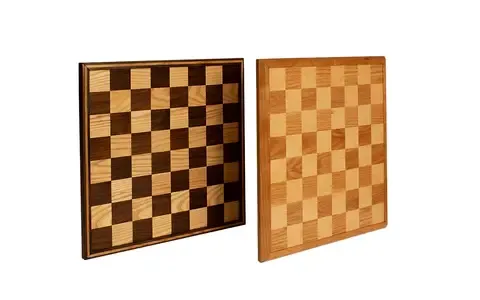
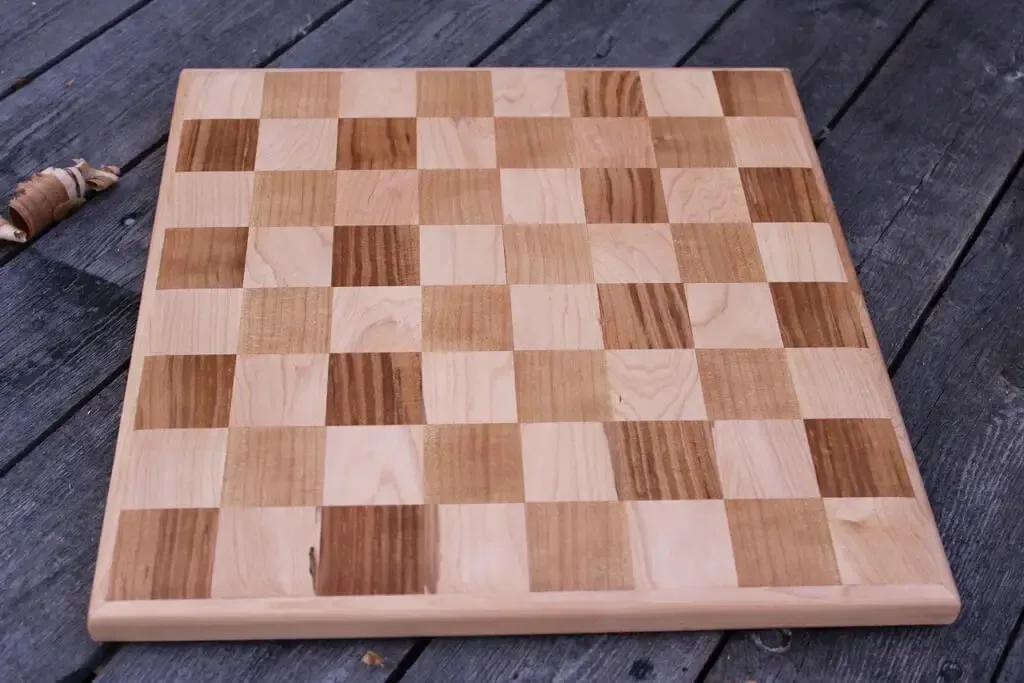
15. Make A Wooden chess board

For those board with the regular chess board type, here is another great idea for you. It’s simple to build.
In making this wood chessboard, two different types of wood which come in contrasting colors are typically used.
One is a little darker-colored while the other wood type is kind of light-colored. The pieces of wood are cut into small squares that are then arranged interchangeably to make it acquire the signature look of the chess board.
A border which is made using dark-colored wood is then added to make the chessboard a bit strong, more durable, and even more attractive. The border appears on all four sides of the wood chessboard.
How this chessboard will look can be altered by trying out different finishes. You can make the chess pieces as well using the same wood used to make the board.
Project details: generaltools.com
16. Make A Laminated Pine Chess Board
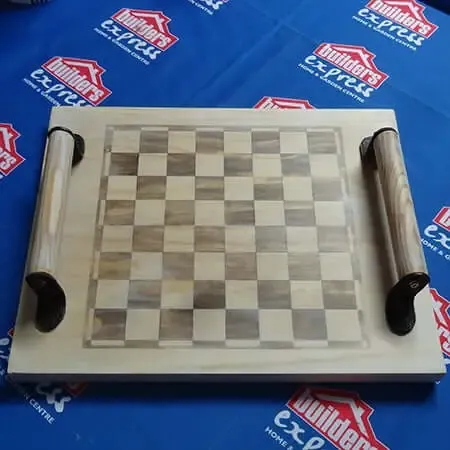
For this project, you will use laminated pine to make a chess board. Simply stain the blocks using woodoc gel then wipe the entire board using a layer of liming wax.
What’s more, if you make a chess board this way, it serves several purposes even for those that don’t play chess. For instance, it can be used to serve snacks and drinks as well.
The process of making this chess board starts with marking the board after it has been made smooth using 240 grit sandpaper.
Add gel stain to completely cover the board. Using some cloth, apply woodoc stain of your preferred color choice over all the areas where the blocks were removed.
After roughly 10 minutes, remove the remaining masking tape. Use a thin layer of liming wax to cover the whole board. You can then add handles of your choice.
Project details: instructables.com
Conclusion
Overall, there are a variety of different chess board plans and ideas that you can try out depending on your skill level and what type of materials you have access to.
No matter which plans you choose, be sure to follow the instructions carefully and take your time to create a high-quality finished product.
Besides the plans discussed in this article, you can always add creativity and uniqueness to your chess board.
With a little effort, you’ll end up with a beautiful chess board that will provide hours of enjoyment for years to come.


