If you’re looking for a hobby, whether to unwind or just to kill some time, woodworking is a great option.
When combining wood with resin makes for a fun pastime that can impress your friends and family.
There are plenty of tutorials out there from which you can gain inspiration to create your stunning piece of furniture or art piece.
However, most woodworking blogs tackle some pretty advanced projects. Sometimes, it’s nice to switch gears and work on something simple that you can finish in just a few hours.
That’s why we’ve rounded up these stunning wood and resin projects anyone can try at home.
Whether you’re an expert crafter or a beginner who is just beginning to explore your craft, there’s something here for everyone.
1. Wooden Owl Statue

Have you always wanted to create your own wood and resin projects?
You can make one of these beautiful owl statues with a bit of patience, talent, and know-how.
Once completed, you’ll be able to enjoy your creation for years. Here’s how.
Materials Needed
- Piece of wood
- A jigsaw or scroll saw
- Resin
- Sandpaper
- Paintbrush
- Heat gun
Instructions
- First, you need to draw an outline of an owl on a piece of wood.
- Next, cut out the shape using either a jigsaw or scroll saw.
- You can then use sandpaper to smooth out any rough edges.
- Now add colors using paintbrushes and dyes in shades that complement each other. This way both sides look great when finished.
- Now it’s time to cover the wood with epoxy resin! Coating the piece with resin will give it a solid finish.
- Finally, use a hairdryer or heat gun to fuse all parts together.
- Then just let it dry overnight before displaying it proudly!
This project will make an impressive gift but is also an easy project for beginners. Plus, it looks so pretty that you might not want to give it away at all!
2. Wooden Picture Frame

Showcasing your favorite photos is a great way to show off your work and also display your cherished memories.
This DIY wooden picture frame, made from wood and resin, will give your photos an awesome retro-inspired look.
The best part is that even though it looks difficult to make, it’s a very simple project that can be completed in less than 30 minutes with minimal crafting tools required.
Materials Needed
- Some wood pieces
- A jigsaw
- Sandpaper
- Paintbrush and color
- Resin
- Glue
Instructions
- Cut your picture frame pieces out of wood and sand them smooth.
- Paint your frame; this is your space to show creativity.
- Mix resin and add resin coating to the frame.
- Now it’s time to cure.
- Remove the frame from the mold.
- Glue photos in place.
- Add a finish.
- Hang up on a wall.
Simply follow these steps, and you have yourself a gorgeous picture frame to display those precious memories.
3. Rustic Candle Holder
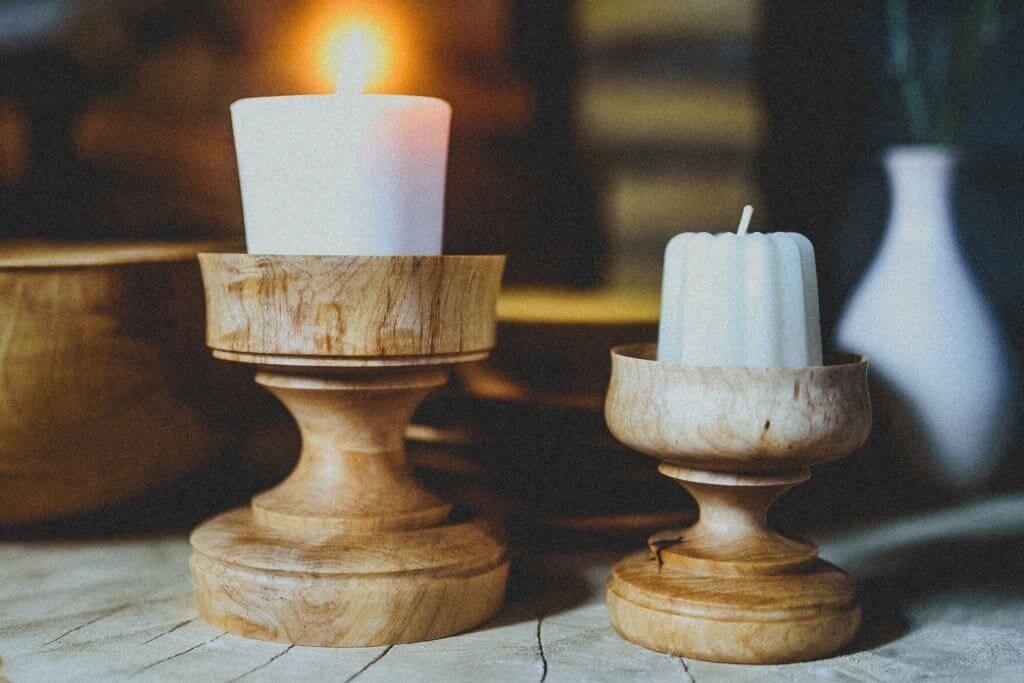
This candle holder is a great piece to make and a must-have. Besides being a daily use candle holder, it’ll also make an excellent art piece.
Materials Needed
- Wood pieces
- Jigsaw
- Drill
- Sandpaper
- Paintbrush and color
- Hairdryer
- Resin
Instructions
- Take a plank of wood and carve it into your desired shape.
- Once you have carved it, take another plank of wood, and cut out a circle that will fit on top of your candle holder.
- Drill four holes at each end of your candle holder so you can screw on your new plate once it has been attached.
- Sand it down and stain or paint as required!
- After it dries, attach your new plate with screws using all four holes.
- Finally, coat the whole thing with resin for a durable and beautiful finish.
- Now you are ready to insert candles
It’s simple! if you want to add a fancy look then you can try embellishments. You can also use any kind of wood for these projects
Just remember to watch what type of finish you use when sanding and staining because different woods absorb different amounts of stain or paint.
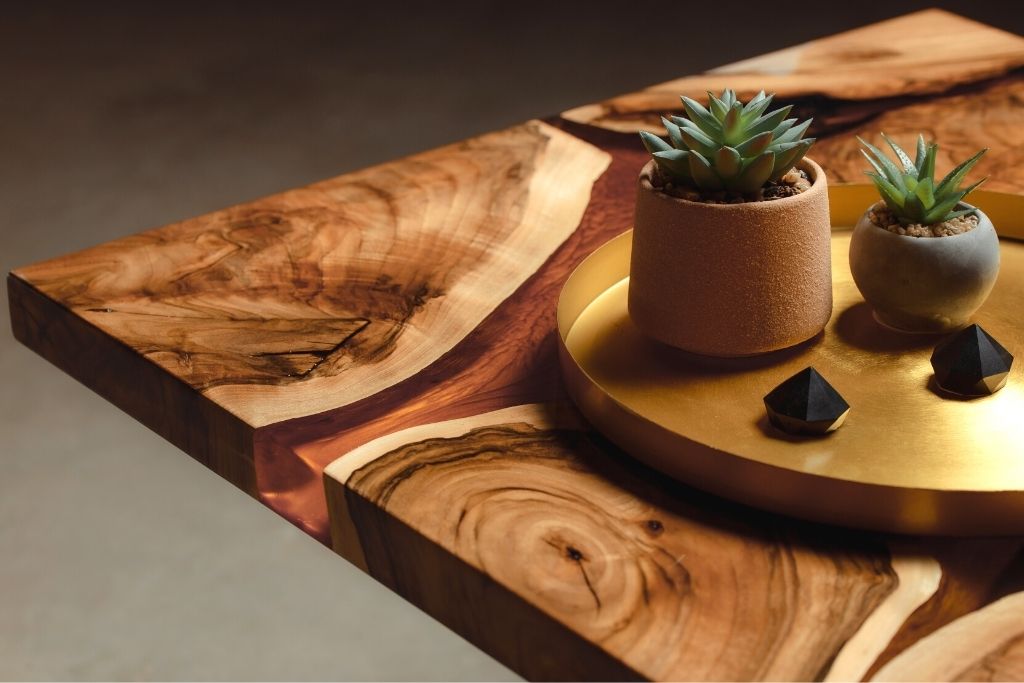
4. DIY Serving Tray

This DIY serving tray will be a food-safe project that includes the use of epoxy resin only. This is an art piece as well as a practical daily use tray.
Materials Needed
- Wooden tray
- Epoxy resin
- Wood stain
- Mason jar (for mixing)
Instructions
- Prepare the wooden tray. Sand and clean the surface to get rid of any sawdust left behind.
- Coat the tray with wood stain and let it dry completely. You can use different types of wood stains, depending on your preference.
- To create a weathered effect, you can use an antique white stain or mix dark walnut and antique white paints together to create a light brown color.
- Start mixing the resin according to the instructions on the package.
- Pour some resin into the mason jar and slowly add some hardener while constantly stirring for about 2 minutes. Do not stop stirring until the mixture is consistent and even in color.
- Now add two layers of resin to your tray service to smoothen it out.
That’s it. Your wooden serving tray with a beautiful, weathered effect is ready!
5. Wood and Resin Keychains

These wood and resin keychains are easy to make. These will be perfect DIY gifts for friends.
Materials Needed
- Resin
- Glitter or pigment powder (optional)
- 2-3 small cups and stirrers for mixing resin
- A jewelry mold of your choice
- Small pieces of light-colored wood (1″ x 1″ x .25″-.5″) OR pre-cut wooden shapes
- Sandpaper
Instructions
- Sand down any rough edges of the wooden shapes.
- Mix your resin according to the instructions on the packaging. If using glitter or pigment powder, mix it in now.
- Pour the resin into your mold and place the wood pieces into the resin.
- Allow the keychains to cure for the time specified in the resin instructions.
- Enjoy your new wood and resin keychains.
Explore different types of molds for your desired results. Silicone molds come in various fun shapes like animals, letters, various geometric forms, and just about anything else you can think of.
You can find these molds at your local craft store or online for as little as $4-$5.
6. Wood and Resin Rings
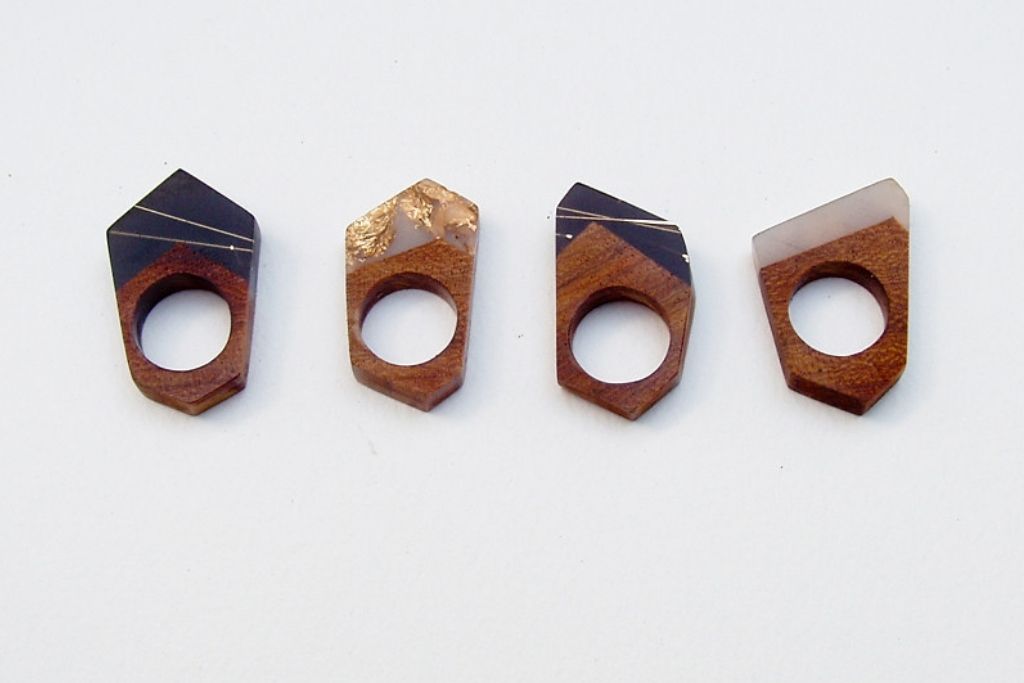
This project is perfect if you have some free time on your hands, a couple of bucks, and some patience. The ring-making process is simple and requires no special tools.
Materials Needed
- Wooden ring mandrel (find one at your local craft store)
- A ring sizer
- 1×4″ oak boards
- Some glue
- A hammer
- Some rings
Instructions
- Start by creating one hole on each end of the boards with a ring sizer, then drilling for your preferred size.
- Next, glue the boards together at the holes, carefully aligning them as best as possible.
- Once the glue is dry, use the hammer to gently tap the boards together until they’re flush.
- Finally, slide the rings onto the mandrel and enjoy your new wood and resin rings!
Take care not to go too large or too small with your initial sizing since once you start gluing pieces together on the wood, it’s hard to go back to change it. In this way, you’ll be able to adjust easily while putting things together.
7. Tabletop Resin Coasters

Resin coasters are an excellent project for beginners, and they can also be made in large quantities for gifts or parties—so let’s get started!
Materials Needed
- Casting resin
- Wood slices
- Silicone molds
- Epoxy resin (optional)
- A disposable cup for mixing the resin
- A popsicle stick for mixing
Instructions
- First, use silicone molds to shape your wood slices into perfect little circles.
- Follow the instructions on the package while mixing your casting resin—and pour it into the mold until it reaches slightly above the top of the wood slice.
- Wait for that resin layer to cure completely before removing it from the molds.
- Once you’ve done that, add another resin layer to seal off your final product.
- If you want to add an extra layer of protection between your tabletop and your coaster, mix some epoxy resin using exact proportions based on your needs and paint it onto your finished piece(s).
- Let it dry overnight.
These resin coasters will look great on your tabletop and will surely impress your guests when they learn that you made them yourself.
Conclusion
If you’re looking for a fun new challenge, you may want to try your hand at these stunning wood and resin projects anyone can try!
Remember that all these designs are meant to be inspirational jumping-off points – you should feel free to alter and improvise if the initial designs don’t work for you. Spend some time doing your research on other DIY Woodworking Projects.
Whether you were looking for artistic inspiration or looking to dazzle, we hope that this article has been an eye-opener. Enjoy and have fun!


![How To Start A Woodworking Business [Ultimate Guide]](https://handykeen.b-cdn.net/wp-content/uploads/2021/10/woodworking-business-1-300x200.jpg "How To Start A Woodworking Business [Ultimate Guide]")
